How to Install Car Camera
To install your car camera, first gather essential tools like screwdrivers, wire strippers, and compatible mounting brackets.
Installing a car camera correctly ensures clear footage and reliable performance.
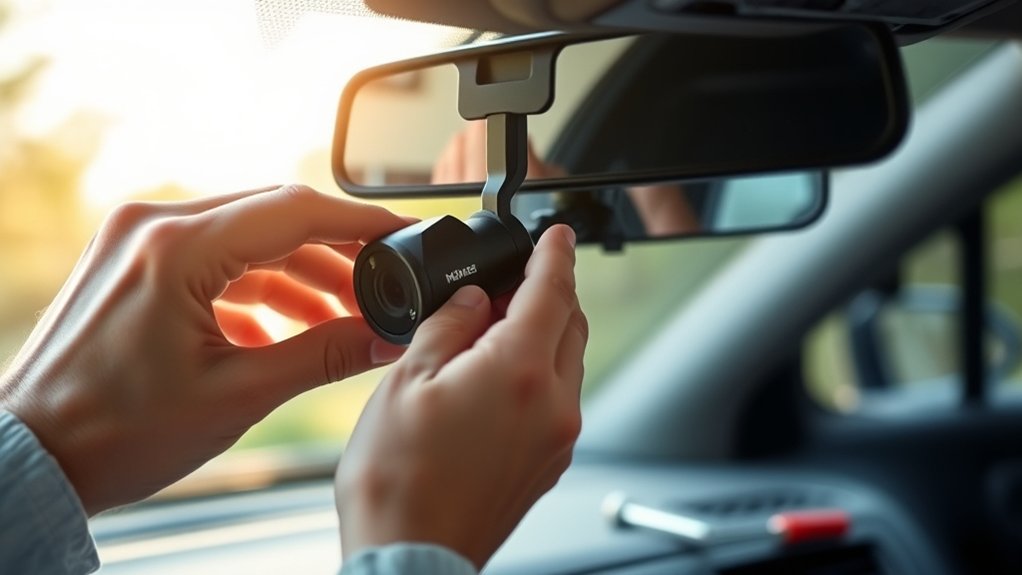
Choose a spot behind the rearview mirror with a clear, wide view, minimizing glare and blind spots.
Securely mount the camera, ensuring stable adhesion and neat cable management.
Connect power via a fuse box or 12V socket using manufacturer-approved cables, and configure settings for optimal recording quality.
After setup, test functionality to confirm coverage and clarity.
Additional steps cover powering, wiring, and maintenance for reliability.
Key Takeaways
- Choose a wide, unobstructed spot behind the rearview mirror, aiming the camera slightly downward to maximize road coverage and reduce glare.
- Gather essential tools like screwdrivers, wire strippers, compatible mounts, power cables, connectors, and the camera’s user manual before starting.
- Securely mount the camera using a durable bracket or suction cup, preparing the surface for adhesion and managing cables neatly to avoid obstruction.
- Connect power from a suitable source like the fuse box or 12V socket, using manufacturer-recommended cables and disconnecting the battery before wiring.
- Configure settings for high resolution, 30fps, loop recording, glare reduction, and proper exposure, then test the system to confirm full coverage and operation.
Why Install a Car Camera?
Why should you install a car camera? Installing a car camera provides you with objective evidence during incidents, helping to clarify fault and protect against insurance fraud. It records continuous footage, offering precise data on time, location, and driving behavior.
Avoid mixing ideas or unrelated topics such as entertainment or unrelated vehicle modifications; focus on the camera’s primary purpose: safety and accountability. A car camera also assists in monitoring parked vehicles against vandalism or theft.
How to Gather Tools and Materials for Installation
To guarantee your car camera functions reliably and captures clear footage, you need to gather the right tools and materials before starting the installation. Begin with tool selection: essential items include a screwdriver set, wire stripper, electrical tape, and a multimeter for circuit testing.
Material sourcing is equally important. Ensure you have compatible mounting brackets, power cables, and connectors specified by your camera model. Don’t forget cable ties for secure wiring and a user manual for reference.
Verify all components meet your car’s electrical standards to prevent malfunctions. By systematically assembling these tools and materials, you’ll streamline the installation process and reduce the risk of errors, ensuring your car camera integrates seamlessly with your vehicle’s systems for optimal performance.
How to Choose the Best Spot for Your Car Camera
Where you place your car camera substantially impacts its effectiveness and footage quality. For optimal car placement, choose a location that offers an unobstructed, wide field of view, typically behind the rearview mirror on the windshield. This spot minimizes blind spots and captures both the road ahead and the dashboard.
Pay close attention to mounting angles; aim the camera slightly downward to avoid capturing too much sky while ensuring the road remains fully visible. Avoid areas with glare or reflections from the sun or interior lights.
Also, consider the camera’s line of sight to ensure it doesn’t interfere with your driving. By selecting the best spot based on these technical criteria, you’ll maximize recording clarity and coverage for reliable evidence in any situation.
How to Mount the Dash Cam Securely and Neatly
How exactly do you guarantee your dash cam stays firmly in place without cluttering your windshield? Start by selecting a mount compatible with your vehicle’s mounting surface, ensuring mounting bracket strength and suction cup durability.
Prepare the surface thoroughly for adhesion options to maximize vibration resistance and weatherproofing. Position the dash cam at an optimal mounting height and angle for glare reduction, field of view alignment, and lens distortion minimization.
Secure wiring with cable management techniques to maintain wiring security and power supply safety without obstructing visibility. Consider GPS module placement for GPS accuracy and integrate reverse camera features if available.
Account for thermal performance and vibration damping to protect hardware longevity and memory card lifecycle. Regularly update firmware, calibrate the camera, and respect windscreen legality, audio recording policy, parking mode considerations, auto start features, and theft deterrence within warranty terms.
How to Safely Connect Your Car Camera to Power
Once your dash cam is securely mounted and neatly positioned, the next step involves establishing a reliable power connection. Ensuring power safety is critical to prevent electrical faults or damage to your car camera. Begin by identifying a suitable power source, such as the vehicle’s fuse box or a 12V cigarette lighter socket. Use only manufacturer-recommended cables and connectors to maintain integrity.
Always disconnect the car battery before working with electrical connections to avoid short circuits.
- Confirm voltage compatibility between the car camera and power source.
- Use a fuse tap or inline fuse to protect the circuit.
- Secure all wiring connections with insulated terminals or soldering.
- Test the car camera’s power function before finalizing installation.
Following these steps ensures efficient power delivery and long-term safety for your device.
How to Route and Hide Car Camera Wires for a Clean Setup
A clean and professional installation depends heavily on careful wire routing and concealment. To achieve a tidy setup, you’ll want to follow concealment strategies like tucking wires under trim panels, running them along existing wiring channels, and securing them with clips or adhesive tape. Avoid loose wires that can interfere with vehicle operation or aesthetics.
| Step | Action |
|---|---|
| 1. Plan Route | Map wire path avoiding airbags |
| 2. Remove Trim | Use trim tools for access |
| 3. Secure Wires | Use clips and tape |
| 4. Conceal Wires | Hide behind panels and carpets |
| 5. Test Setup | Ensure no interference or stress |
How to Configure Car Camera Settings for Clear Recording
Why does configuring your car camera settings correctly matter? Proper configuration ensures clear recordings, critical for capturing details during incidents. Start by adjusting the resolution to the highest available, balancing clarity and storage. Set the frame rate to at least 30fps to capture smooth motion.
Activate the glare reduction feature to minimize reflections from the windshield, enhancing visibility. Ensure your camera’s exposure and brightness are optimized for varied lighting conditions.
Remember, neat cable management supports consistent power delivery, preventing interruptions that could affect recording quality. Also, enable loop recording to avoid missing footage when the memory card fills up.
Maximize resolution for detailed footage
Use glare reduction to improve image clarity
Optimize exposure for changing light
Enable loop recording for continuous capture
How to Test Your Car Camera After Installation
Now that your car camera is installed, you need to check its functionality to guarantee it powers on and records properly. Verify the video quality by reviewing footage for clarity, frame rate, and exposure. This step confirms your setup captures reliable evidence when you’re on the road.
Checking Camera Functionality
Verifying your car camera’s functionality immediately after installation guarantees it operates correctly and captures clear footage. Begin by checking the camera calibration to ensure the lens and sensors align perfectly with your vehicle’s dimensions.
Next, power on the system and confirm it boots without error messages. Test the recording feature by driving a short distance and reviewing saved clips to verify continuous, uninterrupted capture.
Also, assess settings related to privacy implications. Ensure the camera does not record inside the cabin or other private areas unintentionally. Lastly, inspect cable connections for secure attachment and avoid loose wiring that could disrupt functionality.
- Confirm camera calibration accuracy
- Verify system startup without errors
- Test recording during a brief drive
- Review privacy settings to prevent unauthorized capture
Verifying Video Quality
After ensuring your car camera functions properly, the next step is to evaluate the quality of the recorded video. Begin by reviewing footage under various lighting conditions: daylight, dusk, and nighttime to confirm consistent clarity.
Pay close attention to resolution sharpness and frame rate stability, as these two word ideas directly impact video usefulness. Use playback on a computer or compatible device for detailed analysis.
Check for any distortion, lag, or dropped frames that could hinder evidence capture. Test audio synchronization if your model includes sound recording. Also, verify the field of view and angle coverage to ensure no blind spots.
How to Troubleshoot and Maintain Your Car Camera System
Although car cameras are designed for reliability, occasional issues can arise that require prompt troubleshooting to maintain ideal performance. Regular maintenance ensures optimal clarity and contrast in your footage, essential for accurate recording.
Start by inspecting connections and power sources to rule out loose wiring. Check the lens for dirt or damage that might degrade image quality. Always review your warranty coverage before attempting repairs or replacements.
For effective troubleshooting and maintenance, follow these steps:
- Clean the camera lens regularly with a microfiber cloth to maintain clarity and contrast.
- Verify all electrical connections are secure and free of corrosion.
- Update your camera’s firmware to fix bugs and improve functionality.
- Test the system after any adjustments to confirm proper operation.
Frequently Asked Questions
Can a Car Camera Affect My Car Insurance Rates?
If you’re involved in an accident, a car camera can provide clear evidence, potentially reducing disputes and claims. This can positively affect your car insurance impact, but always check legal considerations in your state before installing one.
Are Car Cameras Legal in All States or Countries?
Car camera legality varies widely depending on jurisdiction differences. You’ll need to check local laws because some states or countries restrict recording audio or video without consent, impacting where and how you can legally use your car camera.
What Should I Do With Recorded Footage After an Accident?
After an accident, save the recorded footage securely to prevent loss. Use it as evidence for insurance claims or legal matters.
Share copies only with authorities or your insurer during post accident actions to ensure proper handling.
Can I Install Multiple Cameras in One Vehicle?
Ever heard the phrase “two eyes see better than one”? You can install multiple vehicle cameras to cover different angles, enhancing security and evidence collection.
Just ensure your system supports multiple inputs and wiring is properly managed.
How Do Car Cameras Handle Extreme Weather Conditions?
Car cameras use weatherproof casings and temperature-resistant components to maintain camera resilience during extreme weather. You’ll find many models rated IP67 or higher, ensuring protection against water, dust, and temperature fluctuations for reliable performance.
Conclusion
Installing your car camera not only boosts your security but also gives you peace of mind when you least expect it—like capturing an unexpected accident or a scenic drive.
By carefully selecting your camera’s position, wiring it cleanly, and configuring settings precisely, you can ensure reliable performance every time you hit the road.
Remember, a well-installed camera is your silent witness, ready to protect and inform you when coincidence turns into necessity. Proper installation is key to getting the most out of your car camera.