How to Change a Tire
To change a tire, first gather your lug wrench, jack, spare, and safety gear. Changing a tire safely requires preparation and the right tools.
Park on level ground, engage the parking brake, turn on hazard lights, and chock opposite wheels. Loosen lug nuts slightly before lifting the car at the manufacturer’s jacking point.
Remove the flat, mount the spare, and hand-tighten lug nuts. Lower the car until the tire just touches the ground, then tighten nuts fully to proper torque.
Following these steps ensures safe, stable tire changes—more detailed guidance can help perfect the process.
Key Takeaways
- Park on level ground, engage parking brake, turn on hazard lights, and place wheel chocks opposite the flat tire for safety.
- Loosen lug nuts slightly with a lug wrench before lifting the vehicle with a properly inspected jack at the recommended jacking point.
- Lift the car steadily, remove the flat tire, align the spare tire with the studs, and hand-tighten the lug nuts to secure it temporarily.
- Lower the vehicle until the spare tire lightly touches the ground, then tighten lug nuts in a proper sequence to prevent spinning.
- Fully lower the car, remove the jack, and use a torque wrench to tighten lug nuts to manufacturer specifications for safe driving.
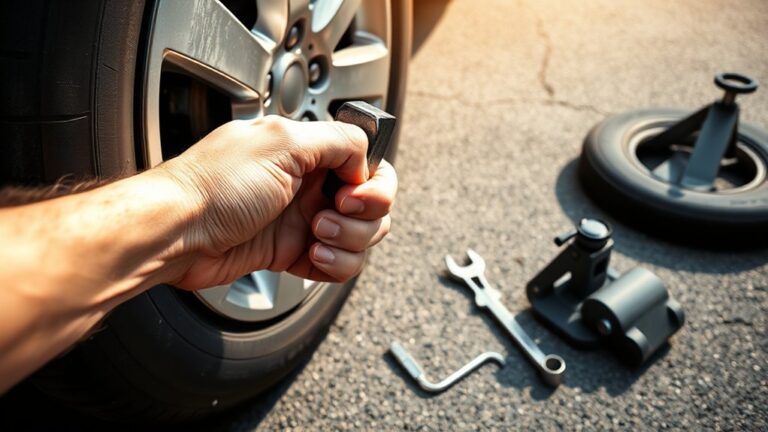
Gather the Tools You Need to Change a Tire
Before you begin changing a tire, make sure you’ve gathered all the necessary tools. You’ll need a lug wrench, a jack, and a spare tire that matches your vehicle’s specifications. Confirm the lug wrench fits your lug nuts precisely to avoid stripping.
Inspect the jack for any damage or rust; proper tool maintenance ensures it functions safely under load. Don’t forget a wheel chock or block to stabilize your vehicle during the process.
Keep a flashlight and gloves handy for visibility and protection. Regularly check all tools for wear and lubricate moving parts as needed to maintain readiness.
Having these tools organized and in good condition streamlines changing tires and minimizes risk during your roadside repair.
Find a Safe Spot and Secure Your Vehicle
Find a level spot to park your vehicle to prevent rolling. Turn on your hazard lights immediately to alert other drivers. Engage the parking brake to secure the vehicle before you start changing the tire.
Choose Level Ground
Where should you stop when changing a tire? Always choose level ground to ensure stability and safety. Uneven or sloped surfaces can cause your vehicle to shift or roll, risking injury and complicating the tire change.
Before stopping, conduct a quick two word discussion with yourself: “wheel alignment.” Proper wheel alignment depends on a stable base, so flat terrain helps maintain the tire’s position and prevents misalignment during removal and installation.
Once parked, engage the parking brake and put the transmission in park (or first gear for manuals). This secures the vehicle, preventing movement. Avoid soft or loose surfaces like gravel or grass, which can compromise jack stability.
Selecting level ground is the foundational step to a safe, efficient tire change.
Turn On Hazard Lights
Why is turning on your hazard lights essential once you’ve parked? Hazard lights importance lies in their role as a clear emergency signaling tool. When you activate them, you immediately alert other drivers to your stationary vehicle, reducing collision risks.
After finding a safe spot on level ground, promptly engage your hazard lights to communicate your presence and emergency status. This visual cue is crucial, especially in low visibility or high-traffic situations.
Don’t delay this step; it’s an essential safety measure that enhances your protection and that of passing motorists. Remember, hazard lights serve as your first line of communication during roadside emergencies, ensuring you’re seen and signaling caution to others effectively and efficiently.
Engage Parking Brake
How do you guarantee your vehicle stays immobile while changing a tire? First, find a flat, stable surface away from traffic. Once parked, firmly engage the parking brake to prevent any rolling. This mechanism locks the rear wheels, significantly reducing movement risk.
Next, place wheel chocks on the opposite side of the flat tire. If changing a front tire, chock the rear wheels. If changing a rear tire, chock the front wheels. Position the chocks snugly against the tire tread to create a physical barrier.
Together, the parking brake and wheel chocks secure your vehicle, ensuring stability and safety throughout the tire change process. Never skip these steps; they’re essential for preventing accidents and maintaining control.
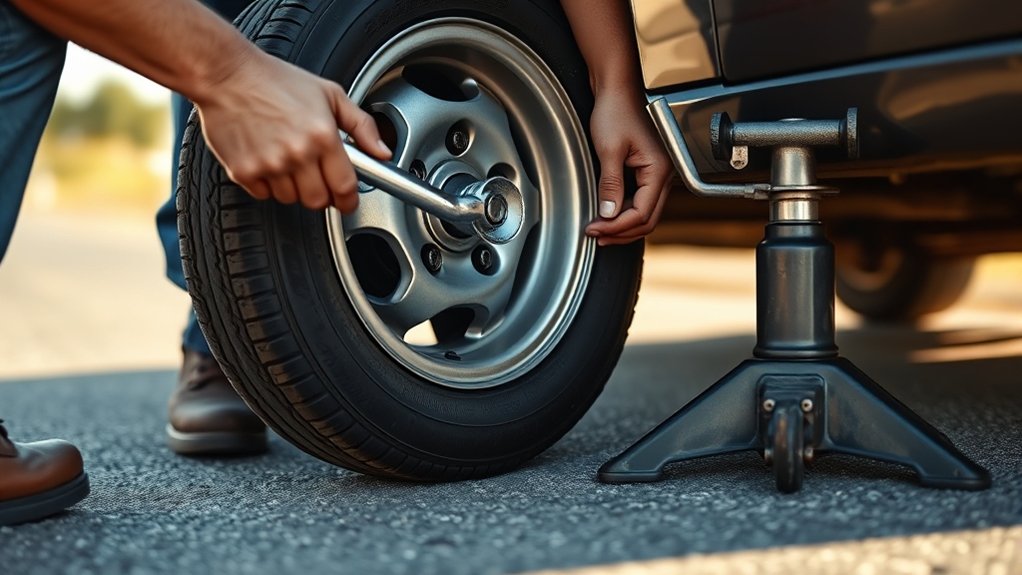
Loosen Lug Nuts Before Lifting the Car (and Troubleshoot Stuck Nuts)
When should you loosen the lug nuts during a tire change? Always loosen lugnuts before lifting the car. Doing this prevents the wheel from spinning when you apply force. Use a lug wrench and turn each nut counterclockwise, applying steady pressure. Loosen them just enough to break their resistance; don’t remove them completely yet.
If you encounter stuck nuts, troubleshoot stuck nuts by applying penetrating oil to the threads. Let it sit for several minutes to loosen corrosion or debris. Use a breaker bar for extra leverage if needed. Avoid sudden, excessive force that could strip the nuts or damage studs. Once all lugnuts are loosened, you’re ready to lift the car and remove them safely. This step saves effort and ensures stability during the tire change.
Lift Your Car Safely Using the Jack
Before lifting your car, position the jack at the manufacturer’s recommended jacking point to prevent damage. Ensure the vehicle is on a flat surface and engage the parking brake to maintain stability. Operate the jack steadily, avoiding sudden movements to lift the car safely.
Positioning The Jack Correctly
Where exactly should you place the jack to lift your car safely? Position it directly under the vehicle’s designated jacking point, usually indicated in the owner’s manual. This ensures stability and prevents damage during tire rotation or when checking tread depth.
Improper placement risks slipping or vehicle damage.
| Vehicle Section | Jack Placement Guide |
|---|---|
| Front Tires | Near the frame, behind the front wheel |
| Rear Tires | Near the rear axle, in front of the wheel |
| Sedan vs. SUV | Consult manual; SUV jacking points differ |
Always align the jack with these points to maximize safety and efficiency. This precise placement supports lifting without compromising the vehicle’s structure or your safety.
Securing The Vehicle Stability
How do you guarantee your vehicle remains stable once the jack is in place? First, ensure the car is on a flat, solid surface to prevent shifting. Engage the parking brake firmly and place wheel chocks on the opposite side of the tire you’re changing to block any movement.
Lowering the jack slightly until it contacts the vehicle’s designated lifting point ensures a secure grip. This is critical for effective tire maintenance and prevents damage to the frame. Check that the jack’s contact point aligns precisely with the manufacturer’s instructions.
Before lifting, confirm the vehicle’s weight is evenly distributed. Maintaining proper air pressure in your tires also helps keep the car stable during maintenance, reducing the risk of sudden shifts or accidents while you work.
Operating The Jack Safely
Why must you operate the jack with care? Improper use risks vehicle instability, personal injury, and damage, potentially causing incorrect tire patching or wheel alignment issues.
To lift your car safely, follow these steps:
- Position the jack under the manufacturer’s designated lifting point to avoid frame damage and ensure stable support.
- Pump the jack handle steadily and avoid sudden movements, which can shift the vehicle and cause imbalance.
- Once lifted, place jack stands securely under the car before removing the jack to maintain stability during tire removal.
Operating the jack correctly prevents sudden drops or tilting, safeguarding you from injury and protecting your vehicle’s structural integrity and alignment. This precision is critical to avoid costly repairs related to incorrect tire patching or misalignment.
Remove the Flat Tire and Mount the Spare
Loosen the lug nuts by turning them counterclockwise with a wrench, but don’t remove them completely yet. Once the vehicle is securely lifted with the jack, fully unscrew the lug nuts and carefully remove the flat tire. Set the flat tire aside to avoid obstruction.
Align the spare tire’s holes with the wheel studs precisely for proper spare mounting. Slide the spare tire onto the hub, ensuring it sits flush against the mounting surface. Hand-tighten the lug nuts onto the studs to hold the spare in place temporarily. This prevents the tire from shifting during subsequent steps.
Make sure the spare tire is centered and properly seated before moving on to tightening the lug nuts securely and lowering the vehicle.
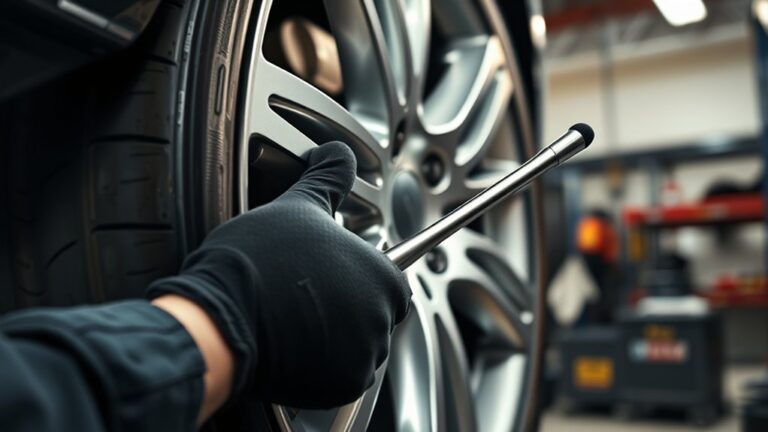
Tighten Lug Nuts and Lower the Car Properly
When should you start tightening the lug nuts? Begin tightening them only after lowering the car enough for the tire to touch the ground lightly, providing stability without full weight on the wheel. This prevents the wheel from spinning during tightening, ensuring proper torque.
Follow these steps for effective tightening and lowering:
- Tighten lug nuts in a star pattern to evenly distribute pressure and maintain wheel alignment.
- Lower the car completely and remove the jack.
- Use a torque wrench to tighten lug nuts to the manufacturer’s specified torque, avoiding over-tightening or under-tightening.
These steps ensure secure attachment and proper wheel alignment, crucial when changing tires to maintain vehicle safety and performance.
Frequently Asked Questions
How Often Should I Check My Spare Tire’s Pressure?
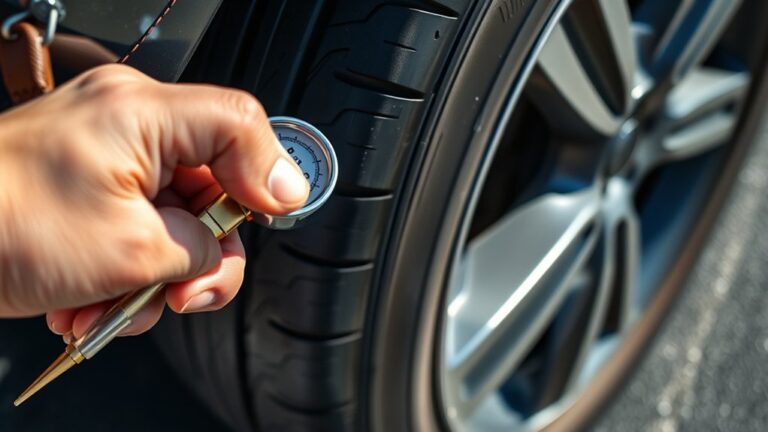
You should check your spare tire’s pressure at least once a month. Regular spare tire maintenance ensures optimal performance, and integrating tire pressure monitoring helps you detect pressure loss early, preventing unexpected failures when you need it most.
What Type of Spare Tire Is Best for My Vehicle?
Your vehicle’s best spare tire is a full-size or compact one matching its specs. Avoid relying solely on tire sealants or run flat usage, as they’re temporary fixes, not substitutes for proper spare compatibility and safety.
Can I Drive Long Distances on a Spare Tire?
You shouldn’t drive long distances on a spare tire due to long distance limitations and reduced durability. Always monitor tire pressure maintenance closely to avoid blowouts or damage.
Replace the spare with a regular tire promptly.
How Do I Dispose of an Old or Damaged Tire?
You should take your old or damaged tire to authorized disposal alternatives like recycling centers or tire retailers offering recycling programs. These options ensure environmentally safe handling and repurposing, complying with local regulations and reducing landfill waste.
What Should I Do if My Jack Won’T Lift the Car?
If your jack won’t lift the car, stop immediately. Don’t improvise. This isn’t an unrelated topic.
Review your safety brief, inspect the jack for damage, ensure proper positioning, and consider using a different jack or professional assistance.
Conclusion
Changing a tire might seem intimidating, but with the right steps, it’s as straightforward as turning a key. Remember to gather your tools, find a secure spot, and loosen lug nuts before lifting.
Lift carefully, swap the tire, then tighten and lower with precision. Practice these steps so when flat strikes, you can handle it smoothly and confidently—like a well-oiled machine ready to hit the road again.
Mastering how to change a tire ensures you’re prepared for unexpected flats and can get back on the road quickly and safely.