How to Check Brake Pads
To check your brake pads, start by parking your vehicle on a flat surface and ensuring it is securely in place. Safely remove the wheel using a lug wrench and jack stands to gain access to the brake components.
Use a flashlight to inspect the thickness of the brake pads. Measure the friction material with a brake gauge or caliper at multiple points to get an accurate assessment.
Watch for common signs of wear such as squeaking noises, vibrations, or uneven pad wear. If the pads are below the manufacturer’s minimum thickness, they need to be replaced immediately.
Continue to explore proper tools, safety steps, and wear indicators for more detailed guidance on maintaining your brake pads effectively.
Key Takeaways
- Inspect brake pads every 10,000 to 15,000 miles or if braking feels less effective or noisy.
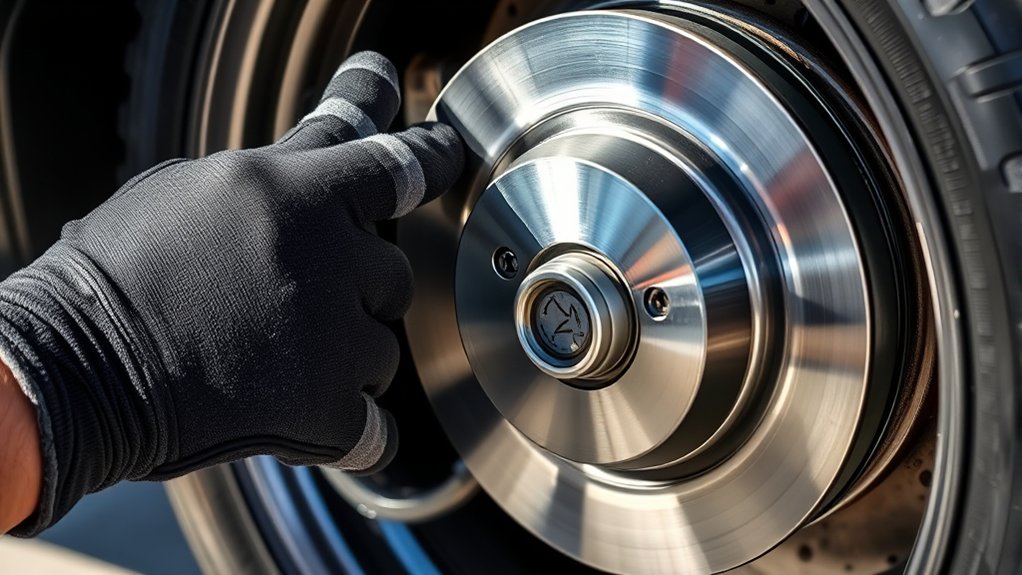
- Safely lift the vehicle, remove the wheel, and use a flashlight to clearly view the brake pads.
- Measure the brake pad thickness with a brake pad gauge or caliper, focusing on the friction material only.
- Look for signs of uneven wear, glazing, cracks, or contamination on the pads during visual inspection.
- Replace pads if thickness is below manufacturer’s minimum, or if you hear squeaking, grinding, or notice reduced braking.
When and How to Check Your Brake Pads
When should you check your brake pads to ensure optimal performance and safety? You should inspect them every 10,000 to 15,000 miles or if you notice reduced braking efficiency, unusual noises, or vibrations.
Begin by parking on a level surface, engaging the parking brake, and removing the wheel to access the brake assembly. Visually examine the pad thickness through the caliper; if the friction material is less than 3mm, replacement is necessary.
Avoid getting sidetracked by unrelated topics like tire pressure or fluid levels during this inspection. Stay focused and resist any off topic discussion to ensure you accurately assess the brake pads’ condition.
Regular checks prevent failures and maintain your vehicle’s braking reliability.
Tools Needed for Brake Pad Inspection
What tools do you need to effectively inspect your brake pads? First, gather a flashlight to illuminate the brake assembly clearly, allowing you to assess brake pad materials for wear or damage accurately.
A lug wrench is essential if you need to remove the wheel for an unobstructed view. Use a brake pad gauge or a simple ruler to measure pad thickness precisely, ensuring the material meets safety standards.
Additionally, a magnifying glass can help detect micro-cracks or glazing on the pad surface. To check for rim wear, inspect the wheel rim closely with your flashlight, looking for grooves or uneven wear patterns that indicate brake pad malfunction.
These tools collectively enable a thorough, precise brake pad inspection.
How to Safely Access Your Brake Pads
How do you ensure safe access to your brake pads during inspection? Prioritizing inspection safety is crucial when working around the braking system components. Begin by securely parking your vehicle on a flat surface and engaging the parking brake. Then, follow these steps:
Loosen wheel lug nuts slightly before lifting the vehicle. Use a reliable jack to raise the vehicle and position jack stands under the frame. Remove the wheel completely to expose the brake assembly.
Inspect the brake caliper and rotor for any visible damage or corrosion. Avoid touching hot components; allow the system to cool if recently used.
How to Measure Brake Pad Thickness
To measure brake pad thickness accurately, you’ll need a caliper or a brake gauge tool. Start by positioning the tool against the friction material, then record the measurement in millimeters or inches. Follow each step carefully to guarantee your readings reflect the pad’s true wear condition.
Tools Needed
Which tools will give you the most accurate measurement of your brake pad thickness? To assess wear on brake pad materials and their rotor interaction, you’ll need precise instruments. These tools ensure you can detect minimal variations in pad thickness, essential for safety and performance.
- Digital caliper: Offers exact measurements down to fractions of a millimeter.
- Brake pad gauge: Specifically designed to measure pad thickness quickly.
- Micrometer: Provides high precision for very thin brake pads.
- Flashlight: Illuminates tight spaces for better visual inspection.
- Inspection mirror: Helps view pads without full wheel removal.
Using these tools, you can accurately evaluate the remaining material on your brake pads and understand how much rotor interaction remains before replacement is necessary.
Thickness Measurement Steps
When should you measure your brake pad thickness for the most accurate results? Ideally, check when the vehicle is cool and stationary to avoid heat expansion affecting the reading.
Begin by removing the wheel to access the brake assembly. Use a caliper or a specialized brake pad gauge to measure the thickness, placing the tool perpendicular to the pad surface.
Focus on the brake pad materials, ensuring you measure the friction material, not the backing plate. Take measurements at multiple points to account for uneven rotational wear caused by rotor inconsistencies or caliper issues.
Record the smallest measurement, as this indicates the remaining usable material. Compare this with manufacturer specifications to determine if replacement is necessary.
Accurate thickness measurement ensures optimal braking performance and safety.
Other Signs Your Brake Pads Are Worn
You’ll want to listen for squeaking or grinding noises when applying the brakes, as these indicate worn brake pads. Notice if your brake responsiveness has decreased, which can signal pad deterioration. These symptoms require immediate inspection to make certain safe vehicle operation.
Squeaking Or Grinding Noises
How can you tell if your brake pads are worn beyond the usual visual inspection? Listen carefully for squeaking causes and grinding symptoms, which indicate pad deterioration. Squeaking often results from wear indicators rubbing against the rotor, signaling minimal pad thickness.
Grinding noises mean the pads are completely worn, causing metal-to-metal contact.
Check for these signs:
- High-pitched squeal when braking lightly
- Rough, metallic grinding during deceleration
- Increased brake dust around wheels
- Vibration or pulsation through the brake pedal
- Longer stopping distances without pedal fade
If you detect any of these, inspect your brake pads immediately. Addressing squeaking causes early prevents grinding symptoms and costly rotor damage.
Reduced Brake Responsiveness
Although brake noises often alert you to worn pads, reduced brake responsiveness provides another critical indicator of their condition. When you press the brake pedal and notice a delayed or spongy response, it signals decreased friction efficiency, often caused by diminished pad thickness.
To assess this, monitor how much pedal travel increases over time, which correlates with brake pad longevity. Keep in mind pad material differences affect wear rates and responsiveness; organic pads typically wear faster but provide smoother engagement, while semi-metallic pads last longer but may feel less responsive when worn.
Regularly check your pads visually or during maintenance to avoid compromised braking performance. Addressing reduced responsiveness promptly ensures safe stopping distances and prevents further damage to rotors or calipers.
What to Do When Your Brake Pads Are Worn
When should you replace your brake pads once they show signs of wear? Immediately, to maintain safety and vehicle performance. Begin by inspecting brake fluid levels during checking fluids; low fluid can indicate worn pads.
Examine tire tread for irregular wear, which might signal braking issues. Then, proceed with these steps:
Lift the vehicle and remove the wheel for brake access.
Measure pad thickness; replace if below the manufacturer’s minimum.
Check rotors for grooves or warping; resurface or replace if necessary.
Install new brake pads, ensuring proper alignment and secure fit.
Test brake responsiveness and fluid level after reassembly.
Following this procedure prevents brake failure and ensures optimal stopping power.
How Often to Check and Replace Brake Pads
Why should you regularly check your brake pads? Maintaining brake pads is critical for vehicle safety and performance. You should inspect them every 10,000 miles or during routine maintenance, such as an oil change.
Regular brake pad checks every 10,000 miles are essential for vehicle safety and optimal performance.
This schedule aligns with other checks, like the check engine system, guaranteeing thorough vehicle health. When inspecting, measure the pad thickness; replace pads if they’re below 3 millimeters. Also, listen for squealing noises, a sign of wear.
Neglecting timely checks can lead to brake failure and costly repairs. Replacing brake pads proactively during oil changes saves you time and prevents damage to rotors.
Staying consistent with brake pad inspections ensures reliable stopping power and extends the lifespan of your braking system.
Frequently Asked Questions
Can Worn Brake Pads Damage My Brake Rotors?
Yes, worn brake pads can damage your brake rotors by causing uneven wear and overheating. Pay attention to wear indicators and ensure proper rotor cooling to prevent warping and maintain braking efficiency.
Are Ceramic Brake Pads Better Than Organic Ones?
Imagine stopping power as a duel; ceramic pads outperform organic ones in heat resistance and longevity. This ceramic comparison highlights quieter operation and less dust, making them superior for most driving conditions. Key two word discussion ideas: durability, performance.
How Do Brake Pads Affect Braking Noise?
Brake pad noise often indicates uneven rotor wear effects or worn pads. You’ll hear squealing or grinding if pads degrade, causing metal contact.
Regularly inspect brake pad noise to prevent rotor damage and maintain optimal braking performance.
Can I Replace Brake Pads Without Removing the Wheel?
You generally can’t replace brake pads without removing the wheel because wheel access is essential for reaching the caliper and pads safely. Skipping wheel removal limits proper inspection, pad alignment, and torqueing during replacement.
Do Brake Pads Wear Differently in All-Wheel Drive Cars?
Yes, brake pad wear varies in all-wheel drive versus front wheel drive cars because AWD distributes torque to all wheels, causing more even but sometimes faster wear on rear pads compared to FWD’s front-focused brake pad wear patterns.
Conclusion
Now that you know how to check your brake pads, picture yourself confidently peering through the wheel, measuring thickness with a precise gauge in hand. By regularly inspecting and spotting wear early, you guarantee your brakes grip the road like new, keeping every stop smooth and safe.
Don’t wait for a squeal or warning light—make brake pad checks a routine part of your maintenance. This helps you avoid costly repairs and maintain control on every drive. Remember, consistent brake pad inspections are key to ensuring your vehicle’s safety and performance.