How to Clean Oil off Brake Pads With Lacquer Thinner
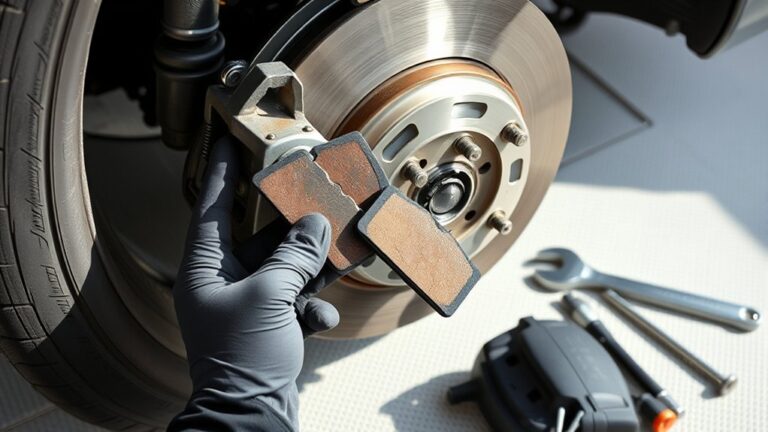
You’ll want to start by cleaning oil off brake pads with lacquer thinner in a well-ventilated area while wearing chemical-resistant gloves and goggles. Apply lacquer thinner to a clean rag, then gently wipe the brake pad surface without soaking it.
Use a soft brush dipped in thinner for stubborn spots, then wipe away excess solvent with a dry cloth. Let the pads dry for 30 minutes before inspecting for residue or damage.
This precise cleaning restores friction, but understanding when to replace pads ensures lasting safety.
Key Takeaways
- Apply lacquer thinner to a clean rag and gently wipe the oil-contaminated brake pad surface without soaking it.
- Use a soft brush dipped in lacquer thinner to scrub stubborn oily spots on the brake pad.
- Wipe off excess lacquer thinner with a dry cloth and allow the brake pads to dry naturally for at least 30 minutes.
- Perform cleaning in a well-ventilated area while wearing chemical-resistant gloves and safety goggles to prevent exposure.
- Inspect brake pads after drying for residual oil, glazing, or damage, and replace if contamination persists or performance is compromised.
Why Oil on Your Brake Pads Is a Big Problem
Oil on your brake pads severely compromises braking efficiency by reducing friction between the pad and the rotor. When oil contamination occurs, it creates a slippery barrier that prevents the brake pad material from properly gripping the rotor surface.
This loss of brake friction directly decreases your vehicle’s stopping power, increasing your stopping distance and risking safety. You’ll notice a spongy brake pedal feel or unusual noises during braking, both signs of oil contamination.
Since brake friction depends on direct contact between pad and rotor, even a small amount of oil can markedly degrade performance. It’s essential to identify and address oil contamination promptly to maintain effective braking and assure vehicle safety under all driving conditions.
How Lacquer Thinner Helps Remove Oil From Brake Pads
A lacquer thinner effectively dissolves and lifts oily residues from brake pad surfaces, restoring their friction properties. When oil contamination occurs, the thinner penetrates the brake pad’s porous material, breaking down the oil molecules and allowing you to wipe them away efficiently.
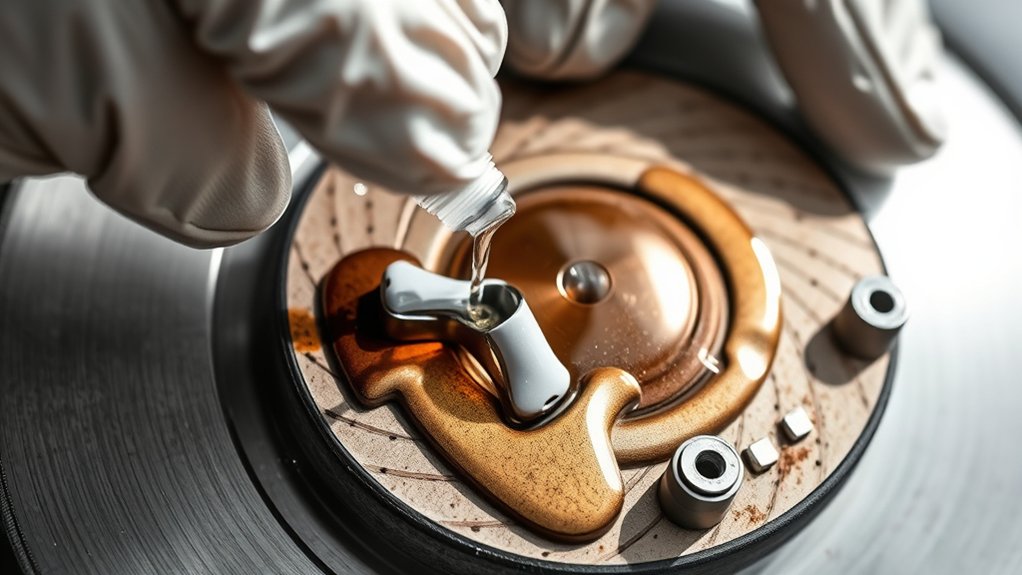
This process eliminates the slick layer that compromises braking performance. To maximize effectiveness, apply the lacquer thinner directly to the contaminated area and let it sit briefly to dissolve the oil. Then, use a clean cloth to remove the residue.
Keep lacquer thinner safety in mind: use it in a well-ventilated space, avoid skin contact, and keep it away from heat sources due to its flammable nature. Proper handling ensures you remove oil contamination while protecting yourself.
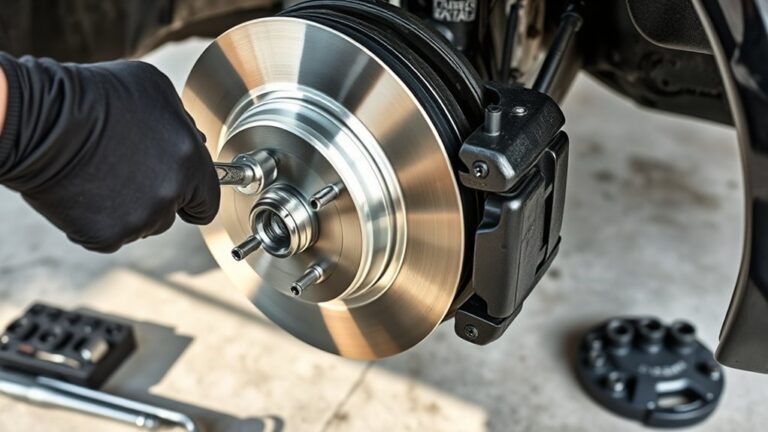
Preparing Your Workspace and Safety Gear for Cleaning
Start by setting up your workspace in a well-ventilated area to prevent inhaling harmful fumes from the lacquer thinner. Put on protective gloves and safety goggles to shield your skin and eyes from chemical exposure. Ensuring proper ventilation and wearing the right gear are essential steps before you begin cleaning.
Setting Up Ventilated Area
Where should you clean brake pads to ensure safety and effectiveness? You need a well-ventilated area to minimize inhalation of lacquer thinner fumes and reduce the risk of oil staining on surfaces. Choose a workspace with good airflow, ideally outdoors or near open windows.
Set up your area as follows for solvent safety:
| Aspect | Recommendation |
|---|---|
| Location | Open garage or outdoor space |
| Airflow | Use fans to circulate air |
| Surface | Cover with disposable absorbent |
| Disposal | Have a sealed container for waste |
This setup controls vapor buildup and prevents solvent spills from contaminating other components. Proper ventilation ensures your cleaning process is both safe and efficient.
Wearing Protective Equipment
Always prioritize wearing appropriate protective equipment before handling lacquer thinner to clean brake pads. Start with chemical-resistant gloves to prevent skin contact, as lacquer thinner’s solvents can cause irritation.
Use safety goggles to protect your eyes from splashes. Choose a respirator rated for organic vapors to avoid inhaling fumes, especially since lacquer thinner may contain different fragrances or additives that can affect fragrance safety and respiratory health.
Avoid wearing synthetic clothing that can generate static sparks. Ensure your workspace is well-ventilated to disperse fumes effectively.
Keep a fire extinguisher nearby, as lacquer thinner is highly flammable. By adhering to these safety measures, you minimize exposure risks and ensure a controlled, safe cleaning process when removing oil from brake pads.
How to Clean Brake Pads With Lacquer Thinner: Step-By-Step
How exactly do you remove oil contamination from brake pads using lacquer thinner? First, ensure solvent compatibility by verifying your brake pad texture won’t degrade.
Apply lacquer thinner to a clean rag, then gently wipe the pad surface to dissolve oil residues. Avoid soaking, which may damage the pad’s texture.
Next, use a soft brush dipped in lacquer thinner to scrub stubborn areas. Finally, wipe off excess solvent with a dry cloth.
| Step | Action | Notes |
|---|---|---|
| 1 | Confirm solvent compatibility | Check manufacturer guidelines |
| 2 | Apply lacquer thinner | Use minimal amount |
| 3 | Wipe brake pad surface | Preserve brake pad texture |
| 4 | Scrub with soft brush | Focus on oil-contaminated spots |
| 5 | Remove excess solvent | Prevent residue buildup |
Drying and Inspecting Your Brake Pads After Cleaning
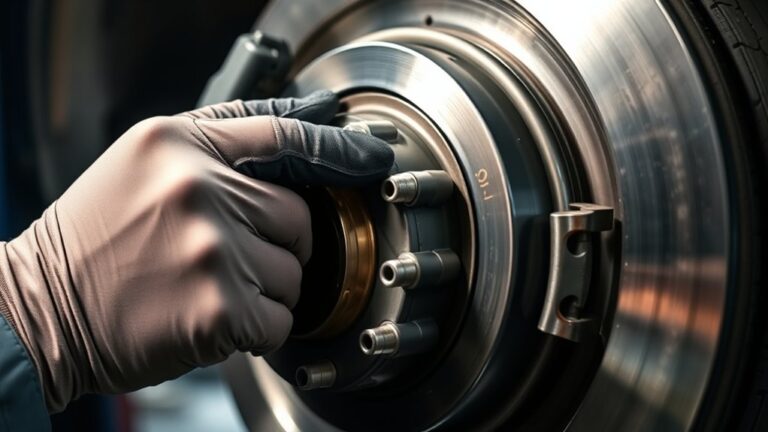
After applying lacquer thinner, let your brake pads dry completely using a clean, lint-free cloth or compressed air to remove any residue. Carefully inspect the surface for any remaining oil spots, glazing, or damage such as cracks or uneven wear. If you detect contamination, repeat the cleaning process before reinstalling the pads to ensure optimal braking performance.
Proper Drying Techniques
Where should you begin once the brake pads have been thoroughly cleaned with lacquer thinner? Start by ensuring complete evaporation of any solvent and residual oil residues to maintain lacquer compatibility and avoid contamination. Follow these proper drying techniques:
Place the brake pads in a well-ventilated, dust-free area at ambient temperature. Avoid using compressed air, which can embed particles or damage the pad surface.
Allow at least 30 minutes for natural drying to ensure all lacquer thinner vapors dissipate. Use a lint-free cloth to gently blot any remaining moisture without rubbing.
Confirm the pads are completely dry by checking for a matte, non-greasy surface before reinstallation.
These steps guarantee optimal pad performance and safety by preventing lacquer thinner interference with brake function.
Visual Inspection Checklist
Once the brake pads have fully dried and show no signs of residue, you’ll need to conduct a thorough visual inspection to confirm their condition before reinstalling. This step ensures no oil contamination remains, which could compromise braking performance and safety.
Use this checklist to systematically verify the pad surface integrity and cleanliness.
| Inspection Area | What to Look For | Action if Issue Found |
|---|---|---|
| Pad Surface | No oil stains or residue | Repeat cleaning |
| Pad Material | No cracks or glazing | Replace pad |
| Edges | No fraying or damage | Replace pad |
| Mounting Points | Clean and undamaged | Clean or repair |
| Backing Plate | No rust or deformation | Replace pad |
Adhering to these safety considerations prevents compromised braking and ensures reliability.
Signs of Remaining Contamination
How can you tell if oil contamination still lingers on your brake pads after cleaning? Once the lacquer thinner evaporates, inspect the pads closely to ensure no residue remains that can compromise brake friction math.
Key signs of remaining contamination include:
- A glossy or shiny surface indicating residual oil
- Uneven discoloration or dark spots on the friction material
- A slippery or greasy texture when touched
- Reduced braking performance during a test ride
- Presence of oil smell despite drying
If any of these signs persist, repeat cleaning to restore proper brake friction math. Thorough drying and inspection are critical to ensure the pads deliver reliable stopping power without oil contamination interfering with performance.
Tips to Prevent Oil Contamination on Brake Pads
Preventing oil contamination on brake pads starts with maintaining a clean workspace and handling components carefully during installation or maintenance. Oil contamination compromises brake pad materials, reducing friction and braking efficiency. Always wear clean gloves, avoid touching friction surfaces, and keep lubricants away from the pads.
| Tip | Reason |
|---|---|
| Use dedicated tools | Prevents cross-contamination |
| Cover brake pads during work | Shields from accidental oil exposure |
| Inspect parts before assembly | Identifies potential contamination risks |
When to Replace Brake Pads Instead of Cleaning Them
When should you opt to replace brake pads instead of attempting to clean them? If oil contamination severely impairs the friction material or if the pads exhibit significant wear, replacement is necessary to maintain safe braking performance.
Consider replacing brake pads instead of cleaning when:
- The friction surface is deeply saturated with oil, resisting cleaning efforts
- Brake pads show uneven or excessive wear beyond manufacturer specifications
- You detect glazing or hardening of the pad material compromising grip
- Braking performance remains poor after thorough cleaning with lacquer thinner
- Cracks, chunks, or structural damage are visible on the pads
Replacing affected brake pads ensures reliable braking performance and safety. Cleaning works best for minor contamination; otherwise, replacement is the responsible choice to avoid compromised vehicle control.
Frequently Asked Questions
Can Lacquer Thinner Damage Other Car Parts Besides Brake Pads?
Yes, lacquer thinner risks damaging rubber, plastic, and painted surfaces. You shouldn’t apply it near sensitive parts.
Consider brake pad alternatives like specialized cleaners to avoid harming other car components during maintenance or cleaning tasks.
Is Lacquer Thinner Safe to Use Indoors or Only Outdoors?
You shouldn’t use lacquer thinner indoors without proper ventilation due to indoor safety risks. Always wear protective gear, assure airflow, and dispose of waste carefully to avoid fire hazards and environmental harm from improper disposal.
How Often Can I Clean Brake Pads With Lacquer Thinner?
Think of cleaning brake pads with lacquer thinner like wiping fog off glass. Do it sparingly.
Clean only when oil contamination is evident, ensuring safe usage by ventilating well. Avoid excessive frequency to prevent pad damage.
Can Lacquer Thinner Be Used on Other Types of Brake Materials?
You can use lacquer thinner as an oil cleaner on some brake materials, but always perform safety testing first.
It may damage organic or composite pads, so test a small area to ensure compatibility before full application.
What Are the Environmental Risks of Disposing Lacquer Thinner?
You face significant environmental risks if you ignore lacquer thinner disposal guidelines, including soil and water contamination.
Always follow local hazardous waste protocols to minimize pollution and protect ecosystems when disposing of lacquer thinner safely and responsibly.
Conclusion
Cleaning oil off your brake pads with lacquer thinner is like wiping fog from a windshield—restoring clear, reliable performance. By following safety steps, thoroughly applying lacquer thinner, and drying your pads properly, you ensure optimal braking function.
Remember, if contamination runs too deep or wear is severe, replacing pads is safer than risking failure. Keep your workspace organized and contamination-free to maintain brake efficiency and your safety on the road.
In conclusion, using lacquer thinner to clean oil off brake pads can effectively restore their performance when done correctly, but always prioritize safety and consider pad replacement if needed.