How Can You Test a Fuel Pump
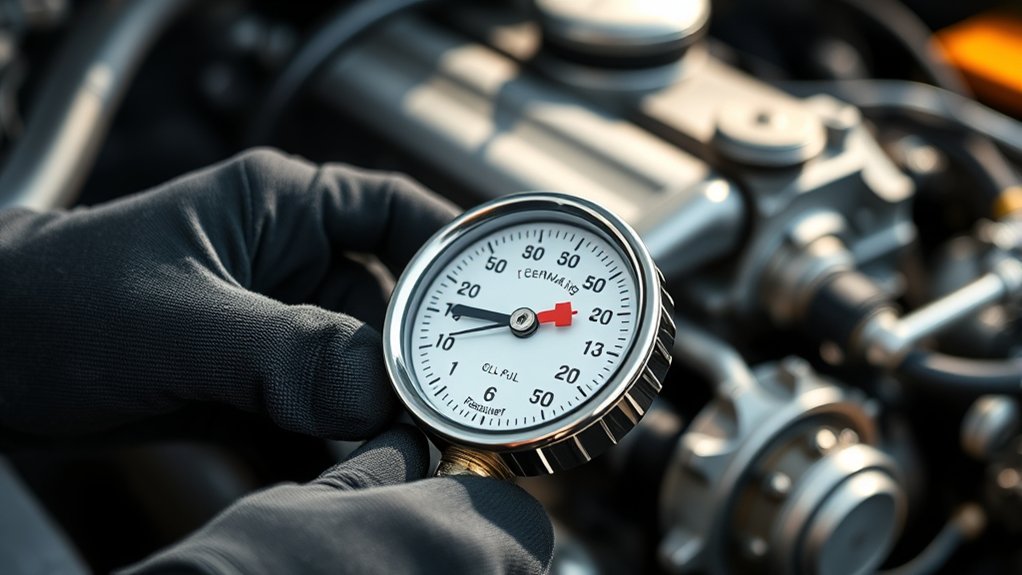
You can test a fuel pump by first measuring its pressure using a fuel pressure gauge attached securely to the fuel rail’s test port. Compare the readings to manufacturer specifications with the ignition on and the engine running.
Next, check the electrical connections with a multimeter for voltage, continuity, and relay function. Listen for humming noises coming from the tank area to confirm the pump’s operation.
Inspect the wiring for any damage or corrosion. If the tests reveal issues, further diagnostic steps can help pinpoint exact faults and determine necessary repairs.
How to Recognize Signs of a Failing Fuel Pump
How can you tell if your fuel pump is failing before it completely stops working? You’ll notice a gradual decline in fuel efficiency as the pump struggles to deliver consistent pressure. Engine sputtering or hesitation during acceleration often signals irregular fuel flow.
Pay attention to unusual noises, like whining or buzzing from the fuel tank area, indicating mechanical wear. Difficulty starting the engine or frequent stalling also points to pump issues. Monitoring these symptoms helps you optimize maintenance scheduling, preventing sudden breakdowns.
Regularly checking fuel pressure and responsiveness ensures the pump operates within specifications. By recognizing these signs early, you maintain optimal fuel efficiency and avoid costly repairs caused by complete pump failure. Stay proactive to keep your vehicle running smoothly and reliably.
What Tools Do You Need to Test Your Fuel Pump?
Testing a fuel pump requires a set of specialized diagnostic tools that provide accurate measurements of fuel pressure and electrical performance. Your tools checklist should include a fuel pressure gauge compatible with your vehicle’s specifications, a multimeter for voltage and resistance testing, and a fuel pump relay tester if available.
Additionally, you’ll need insulated gloves and safety goggles for protection. Safety reminders are essential: always disconnect the battery before connecting electrical test equipment, and ensure the work area is well-ventilated to avoid fuel vapors. A wiring diagram of your vehicle’s fuel system aids in precise testing.
Having these tools on hand allows you to perform thorough diagnostics, accurately identifying whether the fuel pump operates within manufacturer parameters or requires replacement.
How to Safely Access Your Fuel Pump
First, identify the exact location of your fuel pump, which is typically under the rear seat or inside the fuel tank access panel. Before starting, disconnect the battery to eliminate any risk of electrical sparks. Always wear appropriate safety gear, including gloves and eye protection, to prevent injury while handling fuel components.
Locate Fuel Pump Access
Where exactly is your fuel pump located, and how can you access it without compromising safety? Typically, the fuel pump resides inside the fuel tank, accessible either through a panel beneath the rear seat or via the trunk floor.
Locate this access point by consulting your vehicle’s service manual to avoid unnecessary disassembly of the fuel system. Before proceeding, clear the area of debris and ensure proper ventilation to prevent fuel vapors from accumulating.
Use the manual’s diagnostic tips to identify the correct panel or cover. These often secure the fuel pump sending unit. Removing this cover carefully prevents damage to fuel lines and electrical connectors.
Disconnect Battery Power
When working near your vehicle’s fuel pump, how do you assure safety? The first essential step is to disconnect battery power. This prevents accidental electrical sparks that could ignite fuel vapors.
Start by locating the negative terminal on your battery and use a wrench to loosen and remove the cable clamp. Secure the cable away from the terminal to avoid accidental reconnection.
Avoid discussing unrelated topics or going on a random tangent about battery care here; focus solely on isolating power to the fuel system. Remember, even a small residual current can cause dangerous arcs when handling the fuel pump.
Use Proper Safety Gear
With the battery power safely disconnected to prevent electrical hazards, you need to equip yourself with the right safety gear before accessing the fuel pump. Start by wearing chemical-resistant gloves to protect your skin from fuel exposure, as the fuel system contains flammable liquids that can cause irritation.
Use safety goggles or a face shield to guard your eyes from fuel splashes or debris. A long-sleeve, flame-retardant shirt minimizes skin exposure and reduces fire risk. Ensure you work in a well-ventilated area to avoid inhaling harmful fumes.
Additionally, keep a fire extinguisher rated for flammable liquids nearby. Following these safety precautions will protect you from potential hazards when testing the fuel pump and ensure you handle the fuel system responsibly.
How to Test Fuel Pump Pressure With a Gauge
How do you accurately measure the fuel pump pressure to ensure optimal engine performance? Start by locating the fuel rail’s Schrader valve or test port. Attach a fuel pressure gauge securely to this port, ensuring no leaks.
Turn the ignition key to the “ON” position without starting the engine; this primes the pump. Observe the gauge reading and compare it to the manufacturer’s specifications, as improper pressure can degrade fuel economy and impede the effectiveness of fuel additives.
If pressure falls below the recommended range, the pump may be weak or clogged. Next, start the engine and monitor the gauge for fluctuations, which indicate inconsistent fuel delivery.
Always relieve fuel system pressure before disconnecting the gauge to prevent hazards and preserve system integrity.
How to Test Fuel Pump Electrical Connections
Why might your fuel pump fail to operate even if the pressure seems adequate? Faulty electrical connections often cause this issue. Start by inspecting the wiring harness for corrosion, frayed wires, or loose connectors.
Use a multimeter to check continuity across the wiring harness terminals, ensuring no breaks or shorts exist. Next, perform relay testing on the fuel pump relay; swap it with a known good relay or use a relay tester to verify proper operation.
Don’t forget to check for voltage at the fuel pump connector with the ignition on. Lack of voltage indicates wiring or relay faults. By systematically testing these electrical components, you can pinpoint issues that prevent the pump from receiving power, even when mechanical pressure tests show no problems.
How to Listen for Fuel Pump Running Noises
A functioning fuel pump emits a distinct humming or whirring sound when activated. To listen for this, ensure the ignition is turned to the “on” position without starting the engine.
A working fuel pump produces a clear humming noise when the ignition is on, but the engine is off.
Position yourself near the fuel tank or under the vehicle, where the pump is located. Use a mechanic’s stethoscope or a length of rubber hose to amplify the sound. A consistent, steady hum indicates proper operation, while intermittent or absent noise suggests pump malfunction.
Avoid distractions; unrelated topic noise can mask these subtle sounds. Remember, random trivia about fuel pumps won’t help here. Focus solely on detecting the mechanical vibrations.
This auditory test provides a quick functional check before proceeding with electrical diagnostics, without relying on voltage measurements or advanced tools.
How to Use a Multimeter to Test Fuel Pump Voltage
After confirming the fuel pump produces the correct humming sound, verifying its voltage supply with a multimeter offers a more precise diagnosis. First, set your multimeter to DC voltage, typically 20V range, reflecting multimeter basics. Connect the positive probe to the fuel pump’s positive terminal and the negative probe to the ground.
Turn the ignition on without starting the engine; you should observe a voltage near 12V.
| Step | Action | Expected Result |
|---|---|---|
| Set Multimeter | DC voltage, 20V range | Ready for measurement |
| Connect Probes | Positive to pump, negative to ground | Stable probe contact |
| Read Voltage | Ignition ON, no start | ~12V indicating power |
This process is crucial in fuel pump testing for accurate fault detection.
How to Respond If Your Fuel Pump Fails the Test
What steps should you take if your fuel pump fails the voltage test? First, verify your multimeter connections and retest to rule out measurement errors. If the failure persists, inspect the wiring harness and relay for damage or corrosion that could impair voltage delivery.
Next, consult your vehicle branding’s specific service manual to identify any unique fuel pump configurations or diagnostic procedures. After confirming electrical faults, replace the fuel pump with a compatible unit recommended by the manufacturer to ensure optimal performance and maintain fuel economy.
Finally, clear error codes using an OBD-II scanner and perform a road test to validate repair success. Addressing a failed fuel pump promptly prevents further engine issues and preserves your vehicle’s operational efficiency.
Frequently Asked Questions
What Types of Fuel Pumps Are Commonly Used in Vehicles?
You’ll find electric fuel pumps commonly used for gasoline engines, offering high fuel pump reliability, while diesel vehicles use mechanical or high-pressure electric pumps. These are designed for diesel vs gasoline fuel pumps’ distinct pressure and flow requirements.
How Long Does a Typical Fuel Pump Last?
You can expect a typical fuel pump to last around 100,000 miles, but test drives help identify early issues.
Always check warranty coverage since some pumps fail sooner due to quality or operating conditions.
Can a Bad Fuel Filter Mimic Fuel Pump Failure?
You might mistake a bad fuel filter for pump failure since both cause pump symptoms like poor pressure and stalling. This coincidence often leads to bad diagnosis, so always inspect the filter before condemning the fuel pump itself.
Is It Safe to Drive With a Failing Fuel Pump?
It’s not safe to drive with a failing fuel pump because stalling can occur unexpectedly.
Diagnose noise by listening for whining sounds near the fuel tank, indicating pump wear, which causes inconsistent fuel pressure and engine stalling.
How Much Does It Cost to Replace a Fuel Pump?
You’ll typically spend $400 to $800 replacing a fuel pump, depending on your vehicle.
Poor fuel quality can worsen idle performance, so ensure clean fuel to prevent premature pump failure and costly repairs.
Conclusion
Now that you’ve tested your fuel pump’s pressure, electrical connections, and voltage, you have clear data to confirm its condition. Contrary to popular belief, a silent pump isn’t always faulty—some run quietly by design.
By combining pressure readings with electrical diagnostics and sound checks, you ensure accuracy before replacing parts. Trust your measurements and don’t rely solely on symptoms.
Precise testing saves time, money, and prevents unnecessary repairs. Always perform a thorough test to accurately assess your fuel pump.