How Do You Connect Jumper Cables to a Car Battery
To connect jumper cables to a car battery, start by clamping the red cable to the dead battery’s positive terminal, marked with a plus sign or red color. Attach the other red clamp to the live battery’s positive terminal.
Next, connect the black clamp to the live battery’s negative terminal, usually marked minus or black. Finally, connect the remaining black clamp to an unpainted metal surface on the dead car’s engine block.
Proper connections guarantee safety and function—follow the detailed steps to complete the process correctly.
How to Tell Which Battery Terminal Is Which
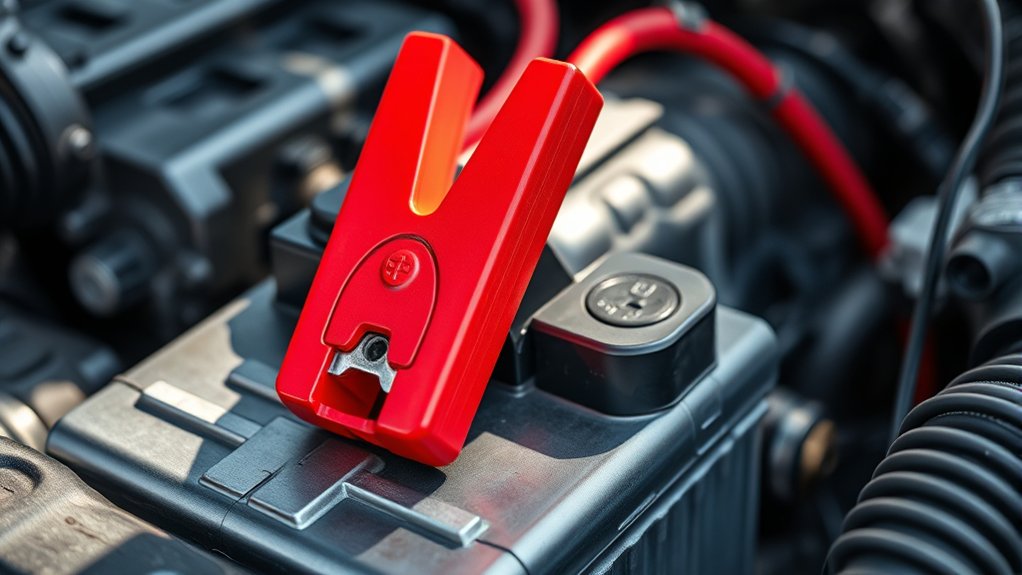
How can you quickly identify the positive and negative terminals on a car battery? Start by locating the markings: the positive terminal is usually marked with a plus sign (+) or red coloring, while the negative terminal features a minus sign (–) or black coloring. The positive terminal often has a larger diameter post.
Quickly identify car battery terminals by looking for a plus sign or red color for positive, and a minus sign or black for negative.
During battery maintenance or engine diagnostics, confirming these terminals prevents accidental short circuits. You should also check for corrosion or damage around each terminal to guarantee reliable connections.
When inspecting, note that some batteries may have terminal covers; remove these carefully. By methodically identifying these markers, you ensure safe handling and accurate diagnostics, which are critical for effective troubleshooting and jump-starting procedures.
This systematic approach safeguards both you and your vehicle’s electrical system.
Choosing the Right Jumper Cables for Your Car Battery
Selecting the right jumper cables for your car battery involves evaluating their gauge, length, and clamp quality to ensure efficient and safe power transfer. When choosing cables, opt for a lower gauge number, like 4 or 6, as it indicates thicker wires that conduct electricity better.
Battery insulation is crucial; ensure the cables have durable, heat-resistant coating to prevent damage and electrical hazards. Longer cables offer flexibility but may reduce current flow, so balance length with gauge.
Clamps should be strong, corrosion-resistant, and provide a secure grip for proper connection.
| Factor | Recommendation |
|---|---|
| Gauge | 4 to 6 (thicker wires) |
| Length | 12 to 20 feet |
| Clamp Quality | Corrosion-resistant, strong grip |
Choosing cables with these specs guarantees reliable and safe battery jump-starts.
Staying Safe When Using Jumper Cables
Before you connect jumper cables, put on proper protective gear to shield yourself from sparks and acid exposure. Follow the correct cable connection order to prevent electrical shorts and damage. These steps ensure your safety and protect both vehicles during the jump-start process.
Proper Protective Gear
A key step in safely using jumper cables involves wearing the proper protective gear to prevent injury. Start by putting on safety goggles to shield your eyes from potential sparks or acid splashes.
Wear insulated gloves to protect your hands from electrical shock and corrosive battery acid. Avoid loose clothing or jewelry that might get caught or create accidental contact with the battery terminals.
Ensure your footwear is non-conductive and stable to maintain proper footing. These protective gear choices align with your safety priorities and minimize risk during the jump-start process.
Always inspect your gear for damage before use and replace it if compromised. By methodically prioritizing protective gear, you significantly reduce the hazards associated with handling jumper cables and car batteries, ensuring a safer experience overall.
Correct Cable Connection Order
How exactly should you connect jumper cables to minimize risk and guarantee a successful jump-start? Understanding basic wiring and battery chemistry is essential.
Always connect the positive (red) cable first to the positive terminal of the dead battery, then to the positive terminal of the good battery. Next, attach the negative (black) cable to the negative terminal of the good battery.
Finally, connect the other end of the negative cable to an unpainted metal surface on the dead car’s engine block, not the battery terminal, to prevent sparks.
| Step | Connection Point |
|---|---|
| 1 | Positive terminal (dead battery) |
| 2 | Positive terminal (good battery) |
| 3 | Negative engine block (dead car) |
This order respects battery chemistry and reduces short-circuit risk.
Step-by-Step Guide to Connecting Jumper Cables Correctly
First, you need to clearly identify the positive and negative terminals on both batteries. Next, attach the jumper cables in the correct order to avoid sparks or damage. Finally, start the working vehicle and then the dead one, ensuring proper connection throughout the process.
Identifying Battery Terminals
Where exactly do you connect the jumper cables on a car battery? First, identify the battery terminals: the positive (+) and the negative (−). The positive terminal usually has a red cover or marking, while the negative terminal is often black or unmarked.
Proper identification ensures you don’t damage your vehicle’s lighting equipment or affect tire pressure sensors during the jump-start process.
| Terminal | Identification Features |
|---|---|
| Positive (+) | Red cover/marking, usually larger |
| Negative (−) | Black or no marking, smaller |
| Location | Near each battery post |
Confirm these terminals before connecting cables to avoid electrical faults or damage to your car’s systems.
Attaching Cables Safely
When should you connect each jumper cable to guarantee safety and prevent electrical hazards? Start by attaching the red positive (+) clamp to the dead battery’s positive terminal. Next, connect the other red clamp to the live battery’s positive terminal.
Then, attach the black negative (-) clamp to the live battery’s negative terminal. Finally, connect the remaining black clamp to an unpainted metal surface on the dead car’s engine block, away from the battery.
This grounding step is essential for battery safety, preventing sparks near the fuel system and reducing explosion risks. Always ensure clamps have secure contact to avoid resistance, which can impair electrical flow and reduce fuel efficiency once the vehicle restarts. Avoid touching clamps together during this process to prevent short circuits.
Starting the Vehicle
Once you’ve securely connected the jumper cables, you can go ahead and start the vehicle with the live battery. Follow these steps precisely to ensure a safe and effective jump-start:
- Turn the ignition key or press the start button on the vehicle with the live car battery. Let it run for a few minutes to charge the dead battery.
- Attempt to start the vehicle with the dead battery. If it doesn’t start immediately, wait another few minutes before trying again.
- Once the dead vehicle starts, keep both vehicles running to stabilize the voltage.
- Disconnect the jumper cables in reverse order: negative clamp from the grounded metal surface, negative clamp from the jump starter, positive clamp from the dead battery, and finally positive clamp from the live battery.
This method prevents sparks and protects both car batteries.
How to Start Your Car After Connecting Jumper Cables
After securely connecting the jumper cables, you’ll want to start the donor vehicle first and let it run for a few minutes to transfer power to the dead battery. This initial step ensures sufficient charge flow to assist in starting the disabled car.
Next, attempt to start the vehicle with the dead battery while the donor engine runs at a steady idle. If the engine doesn’t start within 5 to 10 seconds, wait a minute before retrying to avoid damaging the starter.
Throughout this process, follow jump start techniques that emphasize maintaining firm cable connections and avoiding contact between clamps. Prioritize safety considerations by keeping metal objects away from battery terminals and ensuring cables are routed to prevent entanglement or accidental disconnection during startup.
What to Do After the Car Starts Before Removing Cables
Patience plays a crucial role immediately following the successful start of the car with a jump. Before removing the cables, you need to stabilize the vehicle’s electrical system to prevent voltage spikes. Follow these steps precisely:
Patience is key after jump-starting; stabilize the electrical system before disconnecting cables to prevent voltage spikes.
- Let the engine idle for at least 3-5 minutes to allow the alternator to recharge the battery adequately.
- Turn on the headlights or interior lights briefly to help balance the electrical load.
- Avoid revving the engine, as it can cause fluctuations that may damage sensitive electronics.
- Take a moment to check for any visible dirt or corrosion on battery terminals; regular car cleaning improves contact quality and supports fuel efficiency by ensuring electrical components operate optimally.
This methodical approach safeguards your car’s system before you proceed to disconnect the cables.
How to Disconnect Jumper Cables Safely Without Sparks
How exactly do you disconnect jumper cables without creating sparks? Begin by turning off both vehicles to eliminate current flow. Next, always remove the negative cable clamp first; this reduces the risk of electrical arcs.
Use spark free techniques by carefully detaching the negative clamp from the ungrounded battery terminal, then proceed to the negative clamp on the donor battery. After both negatives are disconnected, remove the positive clamps in the same order: start with the dead battery’s positive terminal, then the donor’s.
Maintain firm grips on insulated handles to prevent accidental contact between clamps or metal surfaces. By following this methodical sequence, you minimize electrical risk and ensure disconnecting safely. This approach prevents sparks and protects both you and your vehicle’s electrical system.
Common Mistakes to Avoid With Jumper Cables
Why do so many people struggle when using jumper cables? Often, it’s because they overlook key safety and procedural steps critical for effective car maintenance and emergency preparedness. To avoid common mistakes, remember to:
- Connect clamps in the correct order: positive to positive, negative to grounded metal, preventing sparks and damage.
- Ensure cables are free of damage: frayed or exposed wires compromise current flow and safety.
- Keep cables away from moving engine parts. This prevents entanglement that could cause injury or equipment damage.
- Avoid premature disconnection. Wait for the dead battery to charge sufficiently before removing cables.
Troubleshooting When Your Car Doesn’t Start With Jumper Cables
If your car doesn’t start after connecting jumper cables, you’ll need to systematically check several factors to identify the issue. First, verify that the jumper cables are securely connected to the correct battery terminals, red to positive, black to negative.
If your car won’t start after jump-starting, first ensure jumper cables are securely connected to the correct terminals.
Inspect for corrosion or damage on the terminals and cables, as this can prevent proper current flow. Ensure the donor vehicle’s engine is running and producing sufficient voltage.
If all connections are correct, test the battery voltage with a multimeter to rule out a completely dead battery. Avoid distractions from irrelevant topics or random ideas that do not address electrical troubleshooting.
Finally, check the starter motor and fuses, as a faulty starter or blown fuse can prevent starting despite a proper jump.
Frequently Asked Questions
Can Jumper Cables Damage a Car’s Electrical System?
You could fry your car’s entire electrical system in a heartbeat if you ignore jumper cable safety. Incorrect connections can cause potential electrical damage, so always connect cables methodically to avoid sparks, shorts, or blown fuses.
How Long Can I Leave Jumper Cables Connected?
You shouldn’t leave jumper cables connected for more than 3-5 minutes to guarantee jumper cables safety. Follow battery charging guidelines by disconnecting promptly once the dead battery starts.
Prolonged connection risks electrical damage and overheating.
Can I Use Jumper Cables on a Motorcycle Battery?
You can use jumper cables on a motorcycle battery, but exercise caution. Over 30% of jumper-related incidents involve improper connections.
To ensure motorcycle safety, avoid jumper risks by connecting cables methodically, respecting polarity and battery specifications.
What if My Car Battery Is Completely Dead?
If your battery is completely dead, follow safety steps: ensure both vehicles are off. Connect the red clamp to the dead battery’s positive terminal first, then the black clamp to a grounded metal surface away from the battery to avoid sparks.
Are There Alternatives to Using Jumper Cables?
Safe, smart solutions include alternative power sources like portable jump starters or solar battery chargers. These methods provide controlled, reliable energy delivery, ensuring safe jump start methods without relying solely on traditional jumper cables or another vehicle.