How to Assemble 10 Inch in Line Fuel Filter
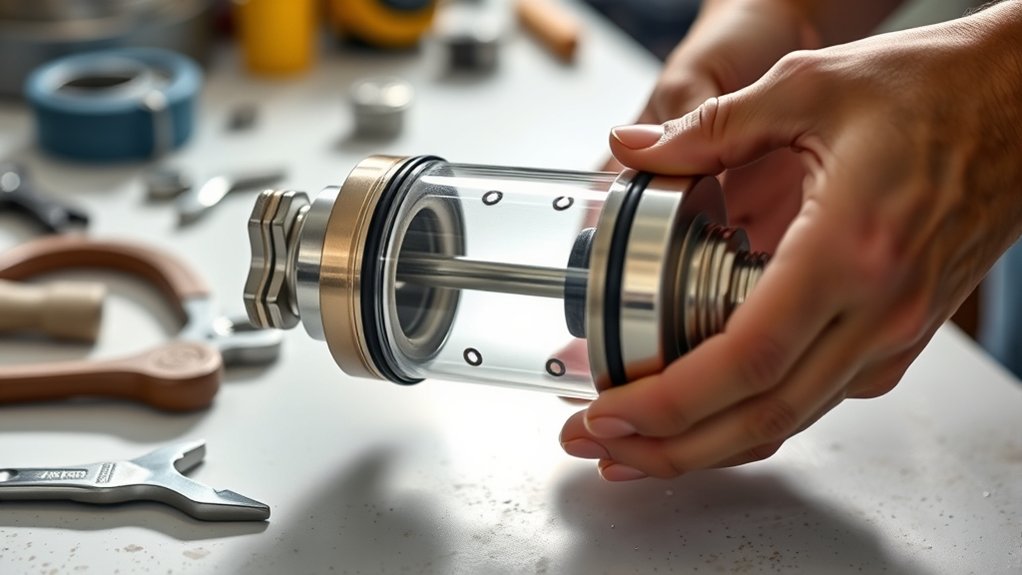
To assemble a 10-inch in-line fuel filter, first gather compatible tools and materials, including fuel-resistant hoses and safety gear. Identifying the filter’s flow direction is crucial and can be done by checking arrow indicators or hose orientation.
Next, depressurize the fuel system to ensure safety before proceeding. Measure and cut the fuel lines cleanly to prepare for installation.
Securely push the hoses onto the filter barbs and fasten them with properly tightened clamps. Finally, check for leaks and verify proper flow under pressure.
Following these steps ensures reliable performance and safe operation. Detailed guidance is available to help optimize maintenance and replacement of your fuel filter.
Gather Essential Tools and Materials for Fuel Filter Assembly
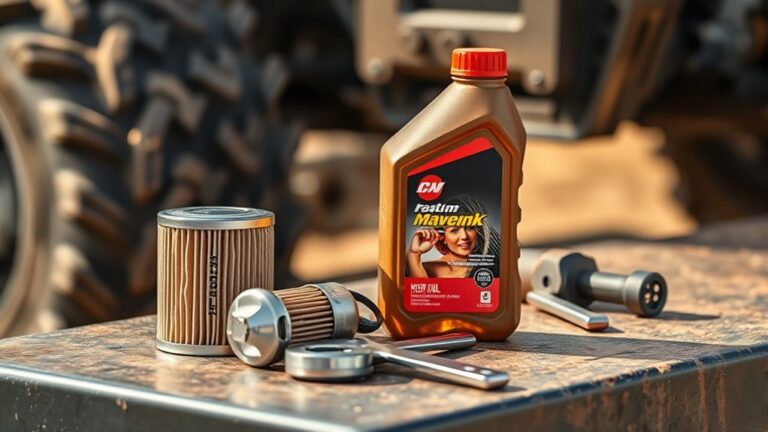
To assemble a 10-inch in-line fuel filter correctly, you’ll need to gather specific tools and materials before starting. Begin by selecting a fuel filter that meets conceptual sizing requirements for your system’s flow rate and pressure.
Ensure the filter housing and internal media materials exhibit compatibility with the fuel type to prevent degradation or contamination. Essential tools include a wrench set sized for filter fittings, hose clamps, and a clean work surface.
Additionally, obtain fuel-resistant hoses matching the filter’s inlet and outlet diameters, verified through conceptual sizing to maintain flow integrity. Use gloves and eye protection for safety.
Confirm that all components, filter element, housing, and hoses, adhere to material compatibility standards to guarantee durability and optimal filter performance. Having these ready streamlines assembly and ensures reliability.
How to Tell Which Way Your Fuel Filter Goes
You need to identify the flow direction to install your fuel filter correctly. Look for the arrow indicator on the filter, which shows the proper fuel flow path. Installing it backward can cause fuel delivery issues and damage the system.
Identifying Flow Direction
How can you be sure the fuel flows correctly through your 10-inch inline fuel filter? Identifying flow direction is crucial for proper filter orientation. Typically, fuel flows from the inlet side to the outlet side, ensuring contaminants are trapped efficiently.
To confirm flow direction, check for physical indicators on the filter housing. If absent, refer to fuel line connections: fuel enters the filter from the fuel tank side and exits toward the engine.
| Aspect | Indicator | Action |
|---|---|---|
| Filter Body Shape | Inlet larger or marked | Connect larger inlet to fuel source |
| Hose Diameter | Varies between inlet/outlet | Match hose size accordingly |
| Flow Path | Internal filter design | Install to ensure fuel passes through filtering media |
| Fuel Source Side | Direction from tank to engine | Align filter accordingly |
| Markings | Arrows or labels (if present) | Follow markings for orientation |
Proper identifying flow guarantees optimal performance and longevity.
Arrow Indicator Importance
Why does the arrow indicator on your 10-inch inline fuel filter matter? It ensures fuel flows correctly, critical for optimal performance and safety. Following training concepts and industry standards, you must install the filter aligned with this arrow to avoid malfunctions.
Pay attention to these points when using the arrow indicator:
- Confirms correct fuel flow direction
- Prevents engine damage from reversed flow
- Aligns with manufacturer’s specifications
- Meets industry standards for installation
- Supports proper filtration efficiency
Ignoring the arrow compromises system integrity and may void warranties. Always verify the arrow points from the fuel source toward the engine. This simple step aligns with professional training concepts, ensuring your fuel system operates reliably and efficiently.
Prepare and Cut Fuel Lines for the Fuel Filter
Before installing the fuel filter, carefully prepare the fuel lines by measuring and marking the exact cutting points. Use a measuring tape and a fine-tip marker to guarantee precision. This brief overview emphasizes the importance of accurate cuts to prevent leaks and maintain fuel flow integrity.
Prioritize safety considerations: depressurize the fuel system and wear protective gloves and eyewear to avoid injury from fuel spray. Use a sharp, appropriate tubing cutter or fine-toothed saw designed for fuel lines to achieve a clean, straight cut.
Avoid crushing or deforming the fuel line during cutting, as this can compromise the seal. Once cut, inspect the ends for burrs or rough edges, and deburr if necessary to guarantee a tight, secure fit when connecting to the filter.
Connect Fuel Lines Securely to the Filter Ends
Where should you start when connecting fuel lines to the filter ends? Begin by ensuring both the fuel lines and filter ends are clean and free of debris. Secure connections are critical to prevent leaks and maintain system integrity.
Follow these steps for proper attachment:
- Align fuel lines straight with filter ends to avoid kinks.
- Push fuel lines firmly onto the filter barbs until fully seated.
- Use appropriate hose clamps, tightening them evenly.
- Double-check clamp positioning to ensure no slippage.
- Inspect connections for proper fit and tension.
These actions guarantee secure connections and effective leak prevention. Avoid forcing lines or using damaged clamps, as these compromise safety. Taking care during this step ensures your fuel filter assembly performs optimally under pressure.
Check Your Fuel Filter Assembly for Leaks and Flow
How can you confirm your fuel filter assembly is properly sealed and functioning? Start by conducting a pressure test to detect any leaks at connection points. Apply consistent fuel pressure using a hand pump or pressure gauge, then inspect all joints carefully.
Look for visible fuel seepage or wet spots. These indicate a compromised seal. Next, perform a flow test by allowing fuel to pass through the filter under operating conditions.
Observe the flow rate to ensure it meets specifications without restriction. Note that an inconsistent flow rate or trapped air bubbles signal a faulty assembly. Use the two word idea “leak detection” for identifying breaches and “flow verification” to confirm proper fuel passage.
Address any issues immediately to maintain safe, reliable fuel delivery.
Keep Your Fuel Filter Working Great With Maintenance and Replacement
To keep your 10-inch in-line fuel filter functioning optimally, clean it regularly to prevent debris buildup. Replace the filter according to the manufacturer’s recommended intervals or when you notice reduced fuel flow. Staying proactive with maintenance ensures consistent fuel delivery and protects your engine.
Regular Cleaning Tips
Why should you prioritize regular cleaning and maintenance of your 10-inch inline fuel filter? Proper upkeep ensures prime fuel flow, prevents clogging, and extends filter life. Sticking to a strict maintenance schedule helps you avoid costly engine issues caused by contaminants.
Fuel quality directly impacts how often you should clean the filter.
Follow these regular cleaning tips to keep your filter efficient:
- Inspect the filter housing for debris and damage.
- Flush the filter element with a suitable solvent.
- Check seals and replace if cracked or worn.
- Use clean fuel to avoid introducing new contaminants.
- Document cleaning dates to maintain an effective maintenance schedule.
Timely Filter Replacement
A timely replacement of your 10-inch inline fuel filter is essential to maintain peak fuel flow and engine performance. Monitor the manufacturer’s recommended service intervals closely, as timing considerations vary by engine type and fuel quality.
Replace the filter promptly when signs of clogging or reduced fuel efficiency appear to prevent damage to fuel injectors and the engine. Ignoring timely replacement risks system strain and potential failure.
Additionally, adhere strictly to replacement schedules to preserve warranty validity; neglecting maintenance can void warranty implications and lead to costly repairs. Always use compatible replacement filters meeting original specifications.
Frequently Asked Questions
Can I Use a 10 Inch Fuel Filter for Diesel Engines?
You can use a 10 inch fuel filter for diesel engines if it meets diesel compatibility standards. Ensure the filter sizing matches your engine’s flow rate and pressure requirements to maintain optimal performance and fuel cleanliness.
How Often Should I Replace My 10 Inch Fuel Filter?
You should replace your 10 inch fuel filter every 15,000 to 25,000 miles to maintain optimal engine performance. Neglecting it risks clogged fuel lines, causing rough idling or stalling.
Check manufacturer guidelines for specifics.
What Are the Signs of a Clogged Fuel Filter?
You’ll notice engine misfires, reduced power, and poor acceleration, signs of a clogged fuel filter. Don’t confuse these with irrelevant topic or off topic discussion; focus strictly on fuel flow issues for accurate diagnosis.
Can I Install the Fuel Filter Without Draining the Fuel Tank?
You can install the fuel filter without draining fuel, but be cautious. Over 50% of fuel-related injuries involve exposure to exhaust fumes. Use proper ventilation and safety gear to minimize inhalation risks during installation.
Are There Any Safety Precautions When Handling Fuel Filters?
Yes, you should always wear safety gear like gloves and goggles. Use spill containment measures to prevent fuel leaks.
Work in a well-ventilated area and avoid open flames to ensure safe handling of fuel filters.
Conclusion
Now that you’ve assembled your 10-inch inline fuel filter, remember: a well-installed filter is the guardian of your engine’s health. Just like a vigilant gatekeeper, it stops debris before damage can occur.
Regular checks and timely replacements keep your fuel system running smoothly and efficiently. So, stay proactive—your engine will thank you with optimal performance and longevity.
Don’t let a small component become a big problem. Proper maintenance of your 10-inch inline fuel filter ensures your engine stays protected and performs at its best.