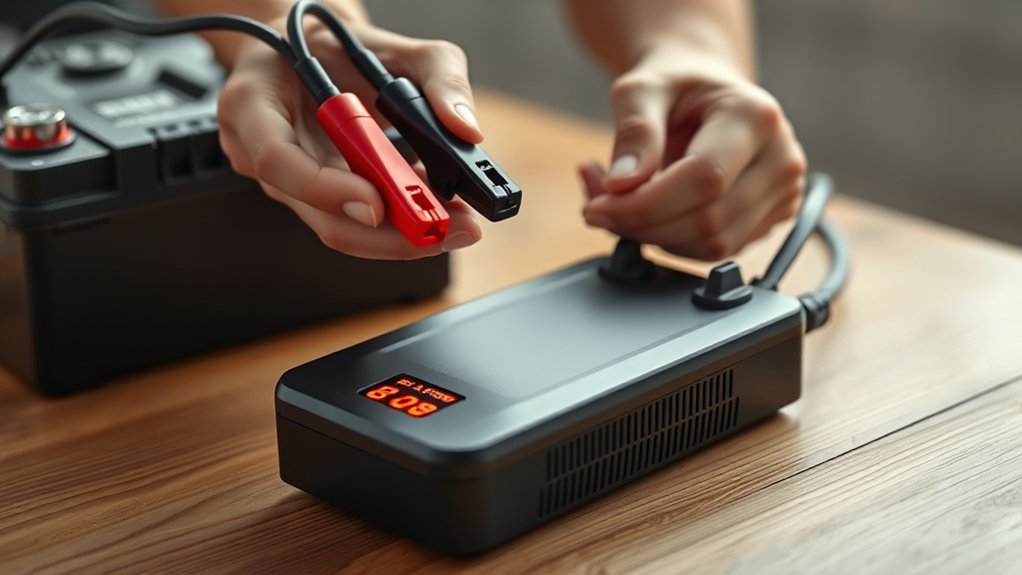
How to Operate Battery Charger
To operate a battery charger, first select one compatible with your battery’s voltage and type, ensuring it has adjustable current and safety features like overvoltage protection. Inspect both the charger and battery for any signs of damage before use.
Next, connect the red clamp to the positive terminal of the battery and the black clamp to a grounded metal surface rather than directly to the negative terminal. This helps reduce the risk of sparks.
Monitor the charger’s indicators regularly to detect any irregularities during the charging process. Maintain proper ventilation around the charger to prevent overheating.
Proper connection and vigilant observation optimize both performance and safety. Further details reveal effective troubleshooting and maintenance techniques to extend charger and battery life.
How to Choose the Right Battery Charger
How do you determine the right battery charger for your needs? Start by analyzing the battery type and voltage specifications, ensuring compatibility with the charger’s output. When choosing chargers, prioritize those with adjustable current settings to match your battery’s capacity, preventing overcharge or undercharge.
Assess the charger’s safety features. Look for built-in protections against short circuits, overvoltage, and overheating to maintain charger safety. Consider the charging technology: smart chargers with microprocessor control offer precise regulation and automatic shutoff, enhancing efficiency and battery longevity.
Also, verify the charger’s certification and compliance with industry standards to guarantee reliable performance. By methodically evaluating these technical factors, you ensure optimal charging results while safeguarding both your battery and charger from potential damage.
Getting Your Battery and Charger Ready Safely
Before connecting your battery to the charger, guarantee both devices are clean, dry, and free from corrosion or damage. Performing an initial inspection is crucial for safe handling and optimal performance. Follow these steps:
Ensure both battery and charger are clean, dry, and undamaged before connecting for safe and effective use.
- Visually examine the battery terminals for corrosion, cracks, or leaks; clean them with a wire brush if necessary.
- Inspect the charger’s cables and connectors for frays, cracks, or exposed wires to prevent electrical hazards.
- Ensure the battery voltage and charger output specifications match to avoid overcharging or undercharging.
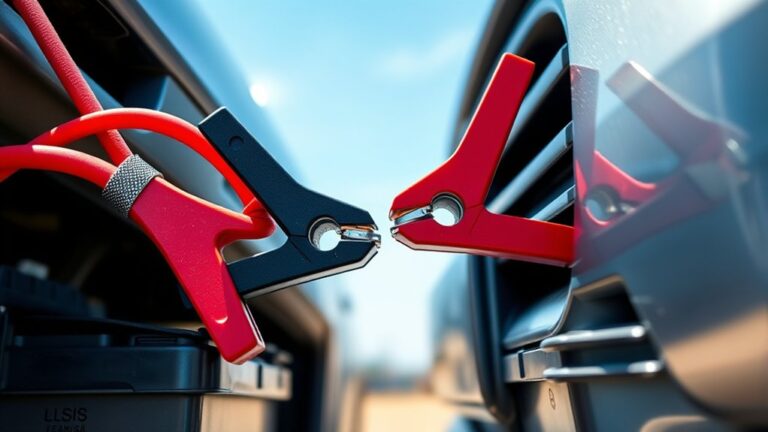
How to Connect a Battery Charger Safely
Where you attach the charger’s clamps can greatly impact safety and effectiveness. For safe handling, always connect the positive clamp (red) to the battery’s positive terminal first. Then attach the negative clamp (black) to a metal part of the vehicle frame, away from the battery, to prevent sparks near flammable gases.
| Clamp Color | Connection Point |
|---|---|
| Red (Positive) | Battery Positive Terminal |
| Black (Negative) | Vehicle Metal Frame (Ground) |
| N/A | Avoid battery negative terminal during initial connection |
Following these color codes and connection sequence reduces risk of short circuits and explosions. You must ensure clamps are secure and not touching each other or other metal parts. This technical approach guarantees optimal conductivity and minimizes hazards during charging.
Best Practices for Monitoring Your Battery Charger
Although connecting your battery charger correctly is essential, consistently monitoring its performance during operation guarantees safety and maximizes charging efficiency. You need to establish a strict monitoring cadence to detect anomalies promptly.
Pay close attention to safety signaling indicators on the charger; they provide real-time alerts on voltage irregularities or overheating. Follow these best practices:
- Check the charger’s display and LED indicators every 15 minutes to confirm normal operation and respond quickly to safety signals.
- Measure battery voltage and charger output intermittently using a multimeter to validate proper charging parameters.
- Ensure ventilation around the charger remains unobstructed to prevent thermal buildup, which safety signaling devices may detect.
Troubleshooting Common Battery Charger Problems
If your charger isn’t powering on, first verify the power source and cable integrity to isolate the issue. For slow charging, assess battery health and charger output to pinpoint potential inefficiencies. Addressing these problems systematically ensures optimal charger performance and battery longevity.
Charger Not Powering On
Why won’t your battery charger power on despite being connected correctly? Charger failure often stems from underlying electrical issues that you must address promptly while maintaining electrical safety.
- Check the power source: Verify the outlet supplies consistent voltage using a multimeter. A faulty outlet can mimic charger failure.
- Inspect the charger’s fuse or circuit breaker: Many chargers include internal protections that trip under overload or short circuit conditions. Replace a blown fuse or reset the breaker.
- Examine the charger’s wiring and connectors: Look for frayed cables, corrosion, or loose connections, which can interrupt the power flow.
Slow Charging Issues
How can you identify and resolve slow charging issues with your battery charger? Slow charging often results from poor power efficiency or connection problems.
First, inspect cable integrity and ensure the charger matches the battery specifications. Check the power source stability since fluctuations reduce charging speed.
Use a multimeter to verify voltage output. If the charger’s internal components degrade, power efficiency drops, causing slow charging.
| Cause | Diagnostic Method | Solution |
|---|---|---|
| Loose Connections | Visual and tug test | Secure or replace connectors |
| Incompatible Charger | Specification check | Use recommended charger |
| Power Fluctuations | Voltage monitoring | Stabilize power supply |
| Worn Components | Performance testing | Repair or replace charger |
| Battery Health | Capacity test | Replace battery if needed |
Battery Charger Maintenance for Long-Term Use
When should you perform routine maintenance on your battery charger to ensure optimal long-term performance? Regular checks should be scheduled to avoid idle conversation or distractions about unrelated topics that can lead to neglected maintenance.
Focus on these critical tasks:
- Inspect all cables and connectors for wear or corrosion; replace damaged parts immediately to maintain efficient current flow.
- Clean the charger’s ventilation openings with compressed air to prevent overheating and component degradation.
- Test the charger’s output voltage and current with a multimeter, verifying it matches the manufacturer’s specifications to ensure safe and effective charging.
Tips to Protect Your Battery and Extend Its Life
Where should you focus to maximize your battery’s lifespan and maintain its performance? Prioritize consistent charging practices, avoid deep discharges, and maintain optimal temperature conditions. Avoid treating battery care as a random topic or an unrelated idea; it directly impacts efficiency and longevity.
| Action | Impact on Battery | Recommended Frequency |
|---|---|---|
| Avoid Deep Discharge | Prevents capacity loss | After each use |
| Charge at Moderate Speeds | Reduces heat buildup | Every charge cycle |
| Store in Cool, Dry Place | Minimizes degradation | Monthly checks |
| Regular Voltage Checks | Detects anomalies | Weekly |
Following these points helps you extend battery life, ensuring reliable performance without unnecessary replacements or failures.
Frequently Asked Questions
Can I Use a Battery Charger on Different Battery Types?
You can use a battery charger on different battery types only if the charger supports those chemistries.
Always check the battery’s safety certification to guarantee compatibility and prevent damage or hazards during charging.
How Long Does It Take to Fully Charge a Battery?
Charging a battery fully can take anywhere from 30 minutes to several hours, depending on charging efficiency, battery chemistry, and compatibility guidelines.
Always check safety certifications to ensure optimal, safe performance without risking damage or hazards.
Are There Any Safety Certifications to Look for in Chargers?
You should look for safety certifications like UL, CE, and FCC on chargers to ensure regulatory compliance. These certifications confirm the charger meets rigorous safety and performance standards, reducing risks of electrical hazards during operation.
Can a Charger Damage a Fully Charged Battery?
Think of your battery as a glass of water; overfilling risks spillage. If your charger lacks charger safety features or mismatches battery compatibility, it can overcharge and damage a fully charged battery, reducing lifespan or causing failure.
What Should I Do if My Charger Overheats During Use?
If your charger overheats during use, immediately disconnect it to prevent damage. Overheating causes include poor ventilation or internal faults.
Follow safety precautions: allow cooling, inspect for defects, and avoid using damaged chargers to ensure safe operation.