How to Use a Battery Charger 12V
To use a 12V battery charger, first identify your battery type and capacity to select the correct charging mode. Always wear safety goggles and insulated gloves before connecting. Attach the positive clamp to the battery’s positive terminal and the negative clamp to a grounded metal surface, never directly to the negative terminal.
Choose a compatible charger setting, monitor voltage and temperature during charging, and disconnect promptly after completion to prevent damage. Following these steps guarantees safe, effective charging, with more insights available to optimize your process.
Identifying Your 12V Battery Type Before Charging
How can you guarantee safe and effective charging of your 12V battery? Start by identifying the battery type precisely, as this impacts the charging method and settings. Common 12V batteries include lead-acid, AGM, gel, and lithium-ion.
Check the battery label or manufacturer’s documentation for chemistry and capacity details. Accurate identification helps you select the correct charging mode and voltage, preventing damage and ensuring optimal performance.
Before connecting the charger, review safety precautions: wear protective gear, ensure proper ventilation, and avoid sparks near the battery. Confirm the charger’s compatibility with your battery type to prevent overcharging or overheating.
How to Choose Safety Gear for Using a 12V Charger
When preparing to use a 12V charger, what safety gear should you prioritize to protect yourself effectively? First, always wear safety goggles to shield your eyes from acid splashes or sparks. Next, insulated gloves are essential to prevent electrical shock and chemical burns.
Additionally, consider wearing long sleeves and closed-toe shoes for extra protection.
| Safety Gear | Purpose | Key Feature |
|---|---|---|
| Safety Goggles | Protect eyes from acid/sparks | Impact-resistant lens |
| Insulated Gloves | Prevent electrical shock | Non-conductive material |
| Protective Clothing | Shield skin from acid/heat | Flame-resistant fabric |
Using this gear minimizes risks associated with battery charging, ensuring your safety throughout the process.
How to Connect Your 12V Battery Charger Correctly
Where should you start to connect your 12V battery charger to make sure safety and proper function? First, identify your battery’s chemistry: lead-acid, AGM, or lithium, since this affects charging requirements.
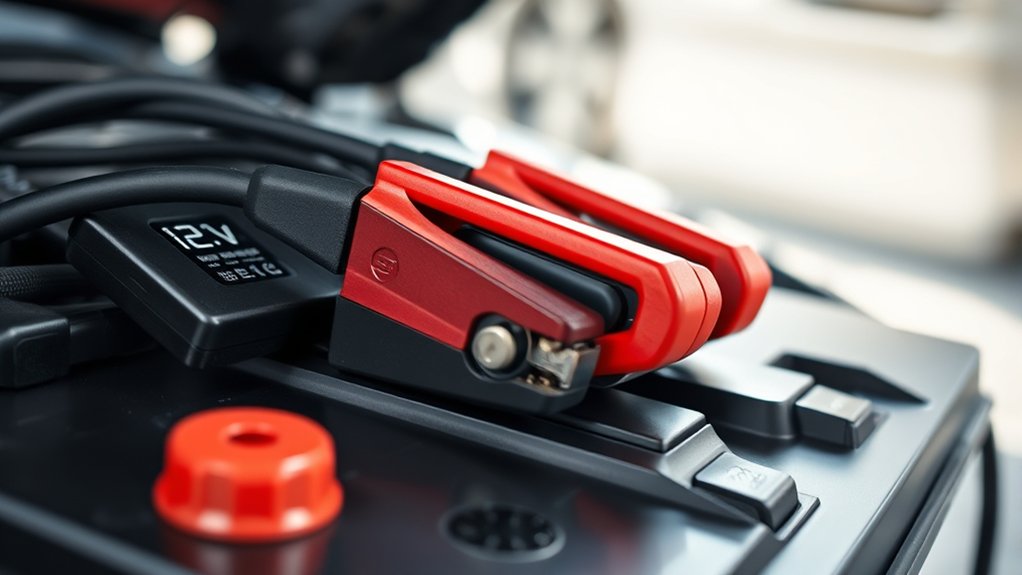
Always turn off the charger before connecting. Attach the positive (red) clamp to the battery’s positive terminal. Next, connect the negative (black) clamp to the battery’s negative terminal or a designated grounding point on the vehicle chassis, avoiding direct contact with the battery if possible to reduce spark risk.
Ensure clamps are secure and free from corrosion to maintain connector safety. Double-check polarity to prevent damage. After connections, plug in and turn on the charger.
Following these steps maintains electrical integrity and protects both you and the battery during charging.
How to Choose the Right Charging Mode for Your 12V Battery
You need to identify the charging modes your 12V charger offers, such as trickle, fast, or maintenance charging. Match the mode to your battery type and condition to optimize performance and lifespan. Using a smart charger can automate this process, providing precise control and preventing overcharging.
Understanding Charging Mode Types
How do you determine the best charging mode for your 12V battery? Understanding charging mode types is key. Bulk mode delivers maximum current to rapidly restore charge.
Absorption mode maintains voltage to safely complete charging without overcharging. Float mode provides a low, constant voltage to keep the battery topped off during storage.
Selecting the right mode aligns with your battery’s usage and maintenance needs. Adopting proper habits for storage, such as using float mode, extends battery life and readiness.
Be mindful of disposal guidelines; overcharging can cause damage requiring battery replacement and proper disposal. Knowing these modes helps you optimize charging efficiency while protecting your battery’s health and complying with safety standards.
Matching Mode To Battery
Understanding the various charging modes sets the foundation for selecting the right one based on your 12V battery’s chemistry and condition. For lead-acid batteries, use a standard or AGM mode; lithium-ion batteries require a specific lithium mode to avoid damage.
Match the charging current to the battery’s capacity to prevent overheating. Always consult the battery’s specifications before charging.
In emergency procedures, if the battery shows signs of swelling, leaking, or excessive heat, immediately stop charging and follow safety protocols. Improper mode selection can cause battery failure, increasing the risk during battery disposal.
Proper mode matching extends battery life and ensures safe operation. By choosing the correct charging mode, you optimize performance while minimizing hazards associated with incorrect charging and disposal practices.
Benefits Of Smart Charging
Why is smart charging essential for your 12V battery’s longevity and safety? Smart chargers adjust voltage and current precisely, preventing overcharging and overheating. This optimizes battery life and supports battery recycling by minimizing degradation.
Plus, smart chargers often enable solar integration, efficiently managing variable input from solar panels.
| Feature | Benefit | Application |
|---|---|---|
| Adaptive Current | Prevents overcharging | Extends battery life |
| Multi-stage Charge | Optimizes charge cycle | Maintains battery health |
| Solar Integration | Supports renewable energy | Off-grid systems |
| Safety Controls | Reduces risk of damage | Handles diverse batteries |
| Battery Recycling | Prolongs usability | Eco-friendly disposal |
Choosing the right mode ensures efficient charging, safety, and sustainability for your 12V battery system.
How Long to Safely Charge a 12V Battery With Your Charger
When charging a 12V battery, determining the safe charging duration depends on the battery’s capacity and the charger’s output current. To calculate the approximate charging time, divide the battery’s amp-hour (Ah) rating by the charger’s amp output, then multiply by 1.2 to account for inefficiencies.
For example, a 50Ah battery charged with a 5A charger requires about 12 hours (50 ÷ 5 × 1.2). Follow proper charging etiquette by monitoring the battery to avoid overcharging, which can reduce battery life or cause damage.
Always use a charger compatible with your battery type. Once charging is complete, disconnect promptly to maintain battery health. Proper battery disposal is essential if the battery no longer holds charge; follow local regulations to prevent environmental harm.
When Not to Use a 12V Battery Charger
Although 12V battery chargers are designed for convenience, you shouldn’t use them if the battery shows signs of physical damage, such as swelling, cracks, or leaks. Charging a compromised battery risks fire, explosion, or further damage, making it a critical safety issue rather than an irrelevant topic.
Avoid charging batteries with corroded terminals or severe sulfation, as these conditions impair charger effectiveness and battery lifespan. Also, don’t use a 12V charger on batteries designed for higher or lower voltages; this stray concern can cause permanent damage.
Avoid charging if the charger itself shows faults like frayed cables or malfunctioning indicators. Always prioritize battery and charger condition over minor, irrelevant topic worries to ensure safe and effective charging.
How Temperature Affects Charging 12V Batteries
How does temperature influence the efficiency and safety of charging a 12V battery? Temperature effects greatly impact charging efficiency and battery longevity. At low temperatures, chemical reactions inside the battery slow down, reducing charging efficiency and increasing internal resistance.
Charging in cold conditions can cause incomplete charging or damage due to insufficient voltage compensation. Conversely, high temperatures accelerate chemical activity, which may enhance charging efficiency temporarily but risks overheating, leading to electrolyte loss and permanent damage.
To optimize performance and safety, you should charge your 12V battery within the manufacturer’s recommended temperature range, typically between 10°C and 30°C (50°F to 86°F). Many smart chargers incorporate temperature sensors to adjust charging rates, mitigating temperature effects and preventing overcharging or undercharging during extreme conditions.
How to Troubleshoot Common 12V Battery Charging Issues
Temperature plays a significant role in charging efficiency, but other factors can also cause issues with your 12V battery charger. First, check all cable connections for corrosion or loose terminals, which often disrupt current flow.
Ensure the charger’s output voltage matches the battery’s specifications to avoid under- or overcharging. Faulty charger components, such as damaged fuses or wiring, can prevent proper operation. Inspect these carefully.
Avoid pursuing irrelevant topics or off-topic ideas like unrelated device troubleshooting, which won’t resolve charging failures. Additionally, verify that the battery itself isn’t sulfated or deeply discharged, as these conditions impair charging ability.
How to Maintain Your 12V Battery When Using a Charger
When should you perform routine maintenance on your 12V battery while using a charger? Ideally, check your battery before and after each charging session to ensure optimal performance. Inspect terminals for corrosion and clean them with a baking soda solution if needed.
Perform routine checks on your 12V battery before and after charging, cleaning terminals if corrosion appears.
Tighten all connections securely to prevent voltage drops. Avoid off topic discussion about unrelated battery types or irrelevant topic details like vehicle engine specs, as they don’t impact maintenance.
Monitor electrolyte levels if your battery is not sealed; top up distilled water carefully to maintain proper fluid levels. Always disconnect the charger before performing any maintenance to prevent short circuits.
Following these steps helps you maintain battery health efficiently while using a charger without veering into irrelevant topic areas that don’t concern your 12V battery maintenance.
How Regular Charging Can Extend Your Battery’s Lifespan
Maintaining your 12V battery with proper checks sets the foundation for regular charging routines that can substantially extend its lifespan. By consistently charging your battery before it drops below 50% capacity, you prevent deep discharge cycles that degrade battery cells.
Regular charging balances the electrolyte concentration, reducing sulfation and preserving internal resistance levels. Using a compatible charger with controlled voltage and current ensures optimal energy flow without overcharging.
Over time, this disciplined approach minimizes capacity loss and enhances performance reliability. When your battery finally reaches end of-life, adhere strictly to disposal guidelines to prevent environmental harm.
Seek authorized recycling options to recover valuable materials safely. This responsible cycle of maintenance, charging, and disposal ensures your 12V battery operates efficiently throughout its usable life.
Tips for Safe 12V Battery Charging Every Time
You’ll want to connect the charger clamps correctly—positive to positive, negative to negative—to prevent sparks or damage. Keep the charging area well-ventilated and free of flammable materials to avoid hazards. Always monitor the charging process closely to prevent overcharging, which can shorten battery life or cause failure.
Proper Charger Connection
Although connecting a 12V battery charger seems straightforward, following precise steps guarantees safety and prevents damage. First, identify the positive (red) and negative (black) terminals on the battery and charger cables.
Connect the positive clamp to the battery’s positive terminal, then attach the negative clamp to a grounded metal surface away from the battery to avoid sparks. Never connect it directly on the negative terminal.
This method is essential, especially when working with antiques or gardening equipment batteries, which can be sensitive to incorrect connections. Ensure clamps are secure and free from corrosion.
Avoid touching clamps together during connection. Double-check polarity before powering the charger. Following these steps minimizes risks of short circuits, acid leaks, or battery damage, ensuring safe and efficient charging every time.
Monitor Charging Environment
Where should you place your battery charger for optimal safety and efficiency? You need a well-ventilated, dry, and stable environment to prevent issues like irreversible discharge or moisture ingress that can damage the battery. Follow these guidelines:
- Position the charger on a flat, non-flammable surface away from direct sunlight or heat sources to avoid overheating.
- Ensure the area is dry and free from moisture ingress, which can cause electrical shorts or corrosion.
- Maintain proper ventilation around the battery and charger to dissipate gases produced during charging, reducing explosion risks.
- Keep the charging setup away from flammable materials and out of reach of children or pets for safety.
Monitoring these factors preserves battery health and guarantees consistent, safe 12V charging every time.
Avoid Overcharging Risks
After setting up your charger in a safe, well-ventilated environment, pay close attention to the charging duration and current to prevent overcharging. Overcharging leads to battery overheating, reduced lifespan, and safety hazards like acid leaks or explosions.
Start by selecting the correct current based on your battery’s capacity; too high a current compromises charging efficiency and safety. Use chargers with automatic shutoff or float modes to stop charging once the battery reaches full capacity.
Regularly monitor voltage and temperature during the process to identify safety issues early. Avoid leaving the battery connected unattended for extended periods.
Frequently Asked Questions
Can I Charge a 12V Battery With a Solar Panel Charger?
Yes, you can charge a 12V battery with a solar panel charger, but follow proper charging etiquette and safety considerations. Ensure correct voltage matching, use a charge controller, and monitor connections to prevent overcharging and damage.
What Type of Battery Charger Is Best for Deep Cycle Batteries?
Think of deep cycle battery chargers as gardeners nurturing a sturdy oak; you want a smart, multi-stage charger that regulates voltage and current precisely. This prevents overcharge while maximizing battery life and performance for your deep cycle batteries.
How Do I Recycle an Old 12V Battery Safely?
You should never dispose of 12V batteries in regular trash. For battery safety, take them to a certified recycling electronics facility.
They handle hazardous materials properly and guarantee environmentally safe recycling processes.
Can I Use a 12V Charger for Motorcycle Batteries?
Yes, you can use a 12V charger for motorcycle batteries. Ensure you follow battery safety and proper charging etiquette by selecting the correct charger type, monitoring charging time, and avoiding overcharging to prevent damage or hazards.
What Are the Signs of a Faulty 12V Battery Charger?
You’ll spot faulty indicators like inconsistent charging, no power output, and unusual noises. Charger overheating is a critical sign, indicating internal faults or poor ventilation.
Always monitor these signs to prevent battery damage or charger failure.