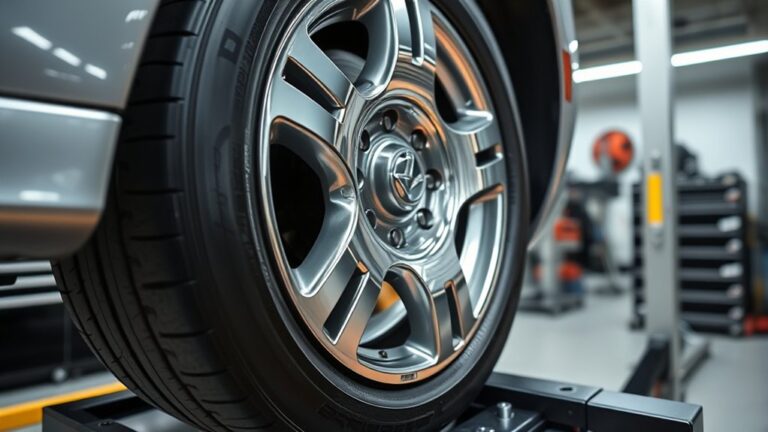
How to Remove Wheel Studs
To remove wheel studs, start by securely lifting and supporting your vehicle. Then, take off the wheel and brake components to expose the studs.
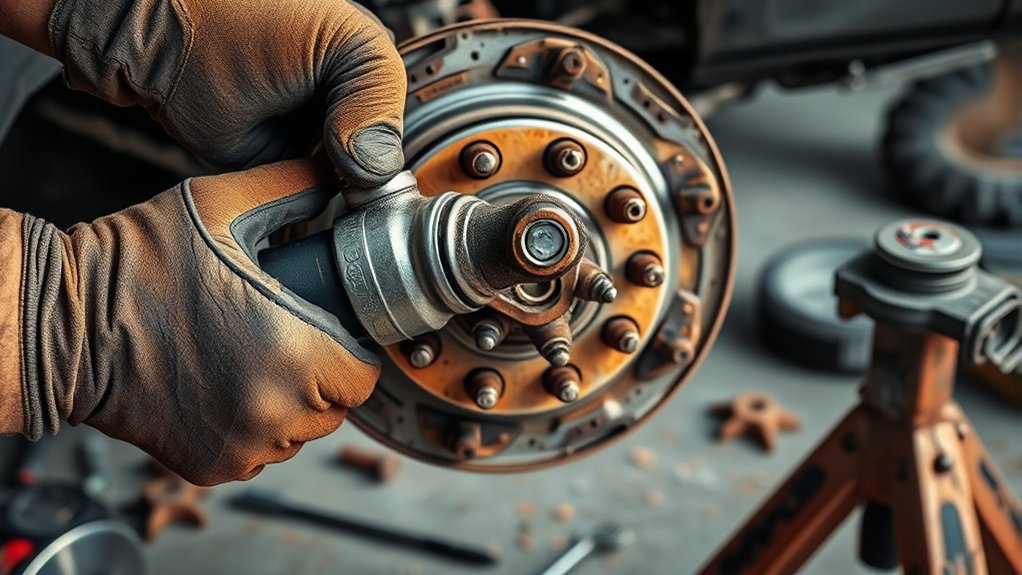
Use a hammer or hydraulic press to push the studs out from the back of the hub. If the studs are stuck, apply heat or penetrating lubricant to help loosen them.
Work methodically and use appropriate tools to avoid damaging the hub. After removal, inspect the studs for wear and damage before replacing them.
Keep exploring to master installation and upgrades for improved safety and performance.
Step-by-Step Guide to Removing Wheel Studs
How do you effectively remove wheel studs without causing damage? First, ensure the vehicle is securely lifted and the wheel is off. Start by removing the brake drum or rotor to expose the studs.
Use a methodical approach: push the stud out from the back of the hub using a hammer or a hydraulic press, avoiding bending or damaging the hub. If the stud is stuck, heat the hub area to expand the metal slightly, making removal easier.
During this step, focus on troubleshooting challenges like seized studs or corrosion. These discussion ideas help anticipate common issues and plan your approach accordingly.
Tools You’ll Need to Remove Wheel Studs
Gathering the right tools is essential for removing wheel studs efficiently and safely. The primary tools needed include a lug wrench to remove the wheel, a hammer or mallet for loosening the stud, and a punch or drift pin to drive the stud out of the hub.
You’ll also require a socket set, particularly a deep socket that fits the lug nut size, and a breaker bar or impact wrench to provide sufficient torque. A bench vise can help stabilize the hub if removed from the vehicle.
Don’t forget safety considerations: always wear safety goggles and gloves to protect against flying debris and sharp edges. Additionally, ensure the vehicle is securely supported on jack stands before starting work to prevent accidents.
These tools and precautions will streamline the removal process while keeping you safe.
How to Handle Stuck or Rusted Wheel Studs
Once you’ve assembled the necessary tools and ensured safety measures, you may encounter wheel studs that won’t budge due to rust or corrosion. Start by applying a penetrating lubricant directly to the base of the stuck stud, allowing it to soak for at least 15 minutes.
Use a hammer with moderate taps to help loosen corrosion without damaging the stud or hub. Avoid excessive force that can cause sticker shock from unexpected repair costs. If the stud remains stuck, gently heat the hub area with a propane torch to expand the metal, then retry removal.
Regular tire rotation can prevent rust buildup by exposing studs to different conditions, reducing the chance of seizing. Patience and methodical steps ensure safe, efficient removal without compromising components.
When and Why to Replace or Upgrade Wheel Studs
Why should you consider replacing or upgrading your wheel studs? You need to replace studs when they show signs of wear, corrosion, or damage, which compromises wheel security. If you notice stripped threads, bent studs, or difficulty tightening lug nuts, it’s time to act.
Upgrading studs is practical when you require higher strength for heavier loads or performance driving. How to upgrade studs involves selecting studs made from stronger materials, like hardened steel, and ensuring proper fitment for your vehicle.
Upgraded studs improve clamping force and reduce the risk of failure under stress. Always replace or upgrade wheel studs proactively to maintain safety and performance, especially after encountering issues during removal or regular maintenance.
How to Reinstall Wheel Studs Correctly
How do you ensure wheel studs are reinstalled correctly to maintain safety and performance? First, clean the hub and stud holes thoroughly to remove debris, ensuring proper seating.
Begin by thoroughly cleaning the hub and stud holes to ensure proper wheel stud seating.
Next, insert each wheel stud from the back of the hub, pushing it through carefully. Use a lug nut and a washer to pull the stud into place by tightening the nut gradually. This method prevents damage and ensures correct alignment.
For discussion idea 1, always torque the lug nuts to the manufacturer’s specifications to avoid over- or under-tightening, which can compromise safety. For discussion idea 2, inspect each stud for any signs of wear or damage before reinstalling, replacing any faulty studs immediately.
Proper installation guarantees reliable wheel attachment and peak vehicle performance.
Frequently Asked Questions
Can I Remove Wheel Studs Without Lifting the Vehicle?
You can’t remove wheel studs without lifting the vehicle since the wheel must be off for access. Skipping this risks damaging components, affecting wheel alignment and tire rotation, so always lift the car safely first.
What Safety Gear Should I Wear When Removing Wheel Studs?
You should wear safety footwear and eye protection to prevent injuries from debris or dropped tools. Proper gear helps you manage torque variance and avoid alignment issues by maintaining focus and control during wheel stud removal.
How Long Does It Typically Take to Remove All Wheel Studs?
You’ll typically spend 30-45 minutes removing all threaded studs, depending on rust and wheel lug tightness. Each stud requires careful unfastening to avoid damage.
Proper tools speed up removing stubborn wheel lugs efficiently.
Are There Any Common Mistakes to Avoid When Removing Studs?
Common mistakes include using improper tool selection, like impact guns without proper sockets, which can damage studs. Don’t rush; ensure bolts are fully loosened first.
Avoid hammering studs improperly to prevent thread damage and alignment issues.
Can Wheel Stud Removal Damage My Brake Components?
Think of your brake components as a finely tuned orchestra. Wheel stud removal can disrupt harmony, causing misaligned wheel alignment and uneven brake wear.
You must handle tools precisely to prevent damaging these critical, interconnected parts.
Conclusion
Now that you know how to remove wheel studs safely, you can tackle stuck studs confidently, choose the right replacements wisely, and reinstall them correctly every time.
You’ll save time by preparing your tools thoroughly, avoid damage by handling rust carefully, and ensure safety by upgrading when necessary.
Removing wheel studs isn’t just a task—it’s a skill that improves your vehicle’s performance, enhances your maintenance routine, and strengthens your mechanical knowledge. Mastering the process of how to remove wheel studs will empower you to maintain your vehicle with greater confidence and precision.