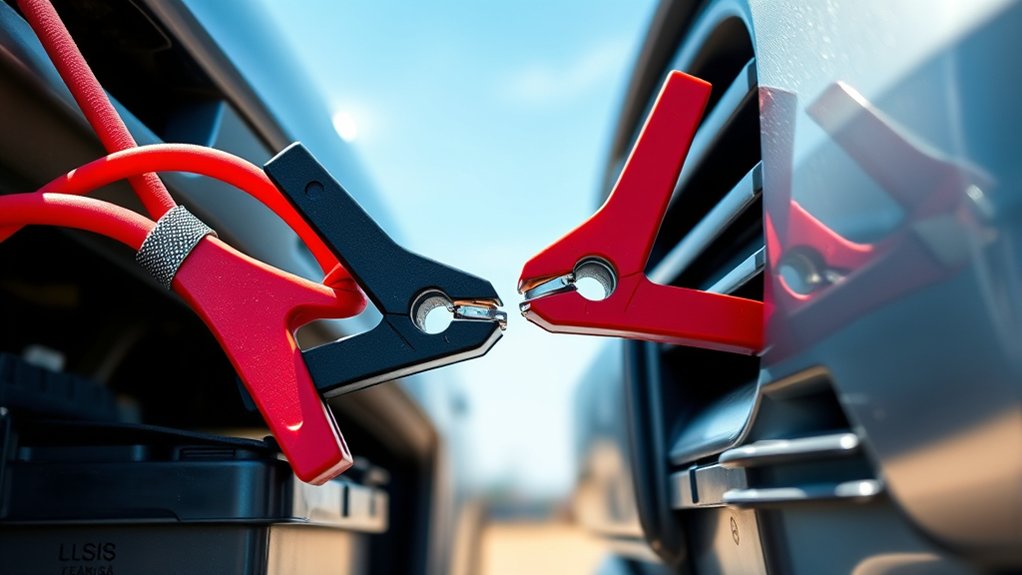
Where to Clamp Jumper Cables
Clamp the positive jumper cable to the battery’s positive terminal, making sure the surface is clean and unpainted for a solid connection. This is the most important step when deciding where to clamp jumper cables. Avoid corrosion or dirt to ensure proper conductivity.
For the negative clamp, never attach it to the dead battery’s negative terminal. Instead, connect it to a clean, bare metal spot on the engine block or chassis away from fuel lines to minimize sparks. Secure clamps firmly to prevent accidental disconnection.
Explore deeper to master safe clamp points and common mistakes. Following these guidelines ensures a safe and effective jump-start every time.
How to Attach Jumper Cable Clamps Safely
Where should you start when attaching jumper cable clamps? Begin by identifying the correct two word idea 1 on both vehicles. This ensures a secure and stable connection. Always connect the clamps to clean, unpainted metal surfaces to prevent poor conductivity.
Next, focus on the two word idea 2, which involves securing the negative clamp last to minimize sparks. Avoid touching clamps together or letting them contact moving engine parts. Clamp firmly to avoid accidental disconnection during the jump-start process.
Keep cables clear from belts and fans to prevent damage. Following these steps guarantees a safe, effective connection and reduces risk of electrical shorts or injury. Your attention to proper clamp placement directly impacts the success of jump-starting without compromising safety.
Where to Connect the Positive Jumper Cable Clamp
You’ll connect the positive jumper cable clamp directly to the battery’s positive terminal. Make certain the contact point is a clean metal surface to ensure a solid connection. Avoid painted or corroded areas, as they can disrupt the electrical flow.
Battery Positive Terminal
How do you properly connect the positive jumper cable clamp to a battery? First, ensure battery safety by wearing gloves and eye protection. Identify the battery positive terminal, marked with a plus (+) sign or red cap.
Before connecting, perform voltage checks to confirm the battery is not leaking or damaged. Attach the positive jumper cable clamp firmly to the positive terminal, ensuring a solid, corrosion-free connection.
Avoid any contact with other metal parts to prevent short circuits. Secure the clamp so it won’t slip during the jump-start process. Proper connection minimizes sparks and maximizes electrical flow.
Once connected, proceed to attach the negative clamp as instructed. Prioritize battery safety and accurate voltage checks to ensure effective and safe jump-starting every time.
Clean Metal Surface
Why choose a clean metal surface for the positive jumper cable clamp? Connecting to clean metal ensures optimal electrical conductivity, reducing resistance during the jump-start process.
Dirt, grease, or corrosion on the connection point can impede current flow, leading to inefficient power transfer or sparking. Before attaching the clamp, inspect the surface for corrosion or buildup and clean it thoroughly using a wire brush or abrasive pad.
This step is critical for corrosion prevention, as residue can accelerate oxidation, compromising future connections. By securing the clamp to a clean metal area, you guarantee a stable and safe electrical path from the donor battery to your vehicle, improving the likelihood of a successful start while protecting both vehicles’ electrical systems.
Always prioritize clean metal contact to maintain connection integrity and safety.
Avoid Painted Areas
Where should you avoid placing the positive jumper cable clamp? Never clamp onto painted surfaces. Paint acts as an insulator, preventing proper electrical contact and potentially causing arcing or damage.
Instead, locate bare metal areas free from rust and paint. If you encounter rust, perform rust removal before clamping to ensure a solid connection.
Follow these steps to avoid painted areas:
- Inspect the clamp site for any paint or coatings.
- Use a wire brush or sandpaper for rust removal and exposing bare metal.
- Avoid areas with flaking or chipped paint that may still insulate.
- Select a clean, stable metal surface such as a bolt head or unpainted frame section.
This approach guarantees optimal conductivity and safety during jump-starting.
Where to Connect and Ground the Negative Jumper Cable Clamp
When connecting the negative jumper cable clamp, you’ll want to avoid attaching it directly to the dead battery’s negative terminal. Instead, choose a solid, unpainted metal surface on the engine block or chassis for safe grounding. This minimizes environmental hazards like sparks near the battery, which can ignite flammable gases. Proper grounding ensures a stable electrical path and reduces risk.
| Location Type | Pros | Cons |
|---|---|---|
| Engine Block | Solid ground, low resistance | Harder to access |
| Chassis Frame | Easy to find, good conductivity | May have surface rust or paint |
| Negative Terminal | Direct connection | Risk of sparks, hazardous gases |
Pick a clean, bare metal spot away from fuel lines to ensure effective and safe grounding.
Spotting Safe Clamp Points on Different Vehicles
How do you identify safe clamp points on various vehicles? Proper clamp placement ensures safe alternator charging and maintains battery compatibility across different models.
- Locate the battery terminals: Use the positive (+) and negative (–) posts if they’re accessible and clean.
- Seek manufacturer-recommended grounding points: These are often unpainted metal surfaces on the engine block or chassis.
- Avoid plastic or painted surfaces: These can interfere with electrical conductivity and risk damage.
- Check for corrosion or damage: Clamp points must be solid and free from rust to ensure reliable current flow.
Common Jumper Cable Clamping Mistakes to Avoid
Why do so many jumper cable attempts fail despite following basic guidelines? Often, it’s due to clamping mistakes that compromise the electrical connection or safety. For example, attaching clamps near the brake pedal assembly or on the air filter housing can be hazardous and ineffective.
| Common Mistake | Consequence | Correct Action |
|---|---|---|
| Clamping on painted surfaces | Poor conductivity | Locate bare metal clamp points |
| Attaching near brake pedal | Safety hazard, possible damage | Avoid brake pedal area |
| Clamping air filter housing | Risk of damaging components | Use engine block or chassis |
| Reversing polarity | Battery damage, sparks | Match positive to positive |
Avoid these errors to ensure a successful jump-start.
Tips for Securely Clamping Jumper Cables Every Time
You need to place the clamps on clean, solid metal surfaces to guarantee proper contact. Make sure each connection is firm and stable to prevent slipping during the jump-start. Avoid common mistakes like clamping painted or rusty areas that can disrupt the electrical flow.
Proper Clamp Placement
Proper clamp placement ensures a safe and effective transfer of power when jump-starting a vehicle. You need to focus on the proper clamp positioning to avoid sparks and damage. Follow these steps for safe placement:
- Attach the red clamp to the positive (+) terminal of the dead battery.
- Connect the other red clamp to the positive (+) terminal of the donor battery.
- Connect the black clamp to the negative (–) terminal of the donor battery.
- Attach the remaining black clamp to an unpainted metal surface on the disabled vehicle away from the battery, like a grounded bolt.
This sequence and placement ensure optimal current flow while minimizing risk. Proper clamp placement not only protects your vehicle but also guarantees you get your engine started efficiently.
Ensuring Firm Connections
How can you guarantee a secure connection when clamping jumper cables? First, position the clamps on clean, bare metal surfaces free of paint, rust, or grease to ensure optimal conductivity.
Use steady pressure when attaching the clamps, making sure the jaws fully grip the metal without slipping. Check that the cable insulation doesn’t interfere with the metal contact area.
Avoid loose or wobbly attachments by testing each clamp’s stability before starting the jump. Confirm that the cables remain taut to prevent accidental disconnections during the process.
Secure connections minimize resistance and improve current flow, reducing the risk of sparks or overheating. By focusing on firm, direct clamping, you ensure efficient power transfer and a safer jump-start every time.
Avoiding Common Mistakes
When connecting jumper cables, watch out for common mistakes that can compromise safety and effectiveness. Following safe usage protocols ensures reliable power transfer and prevents damage.
Here are four key troubleshooting tips to avoid errors:
- Don’t clamp cables to painted or rusty surfaces. Always find clean, bare metal for a secure electrical connection.
- Avoid reversing polarity. Connect red clamps to positive terminals and black clamps to grounded metal, never the battery’s negative terminal.
- Keep clamps steady. Loose connections can cause sparks or intermittent power flow.
- Don’t connect cables while engines run. Start with both vehicles off to prevent voltage spikes that can harm electronics.
Frequently Asked Questions
Can Jumper Cables Damage My Vehicle’s Electrical System?
Yes, jumper cables can damage your vehicle’s electrical system if electrical surges occur. You’ll face mounting risks like blown fuses or fried components, so always connect cables properly to minimize the chance of surges and damage.
How Long Should I Leave Jumper Cables Connected?
You’ll want to leave jumper cables connected for just 3-5 minutes, balancing short term safety with proper disposal of electrical energy. Disconnect promptly to avoid damage, ensuring your vehicle’s systems stabilize without risking sparks or overloads.
Is It Safe to Jump-Start a Hybrid or Electric Car?
You shouldn’t jump-start hybrids or electric cars without checking jump start safety guidelines first. Many require special procedures due to hybrid compatibility issues, so consult the owner’s manual or a professional to avoid damaging the battery or electronics.
What Should I Do if My Car Still Won’T Start?
If your car still won’t start, check for dead battery troubleshooting steps like voltage testing and connections. Also, inspect starter motor issues.
Listen for clicking sounds or no response, indicating possible starter replacement or professional diagnosis is needed.
Can I Use Jumper Cables in Extreme Weather Conditions?
You can use jumper cables in extreme weather, but prioritize electrical safety by wearing insulated gloves, avoiding wet conditions, and ensuring cables are in good condition.
Extreme cold or heat may affect battery performance during the jump.