How to Replace Fuel Filter
To replace your fuel filter, first locate it using your vehicle’s manual—usually near the fuel tank or engine. Replacing the fuel filter is an important maintenance task that helps ensure your vehicle runs smoothly.
Begin by relieving fuel system pressure. You can do this by loosening the fuel cap and disconnecting the battery. Use the right wrenches to remove the old filter carefully, avoiding damage to the fuel lines.
Install the new filter in the correct orientation and secure the fittings without overtightening. After installation, check for leaks. Finally, start the engine to ensure proper fuel flow and safety. Following these steps sets you up to explore the detailed replacement process effectively.
Locate Your Vehicle’s Fuel Filter
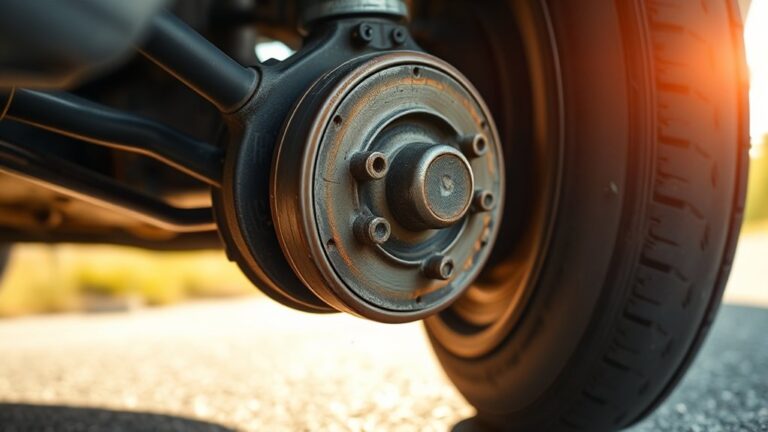
Where exactly is your vehicle’s fuel filter located? Start by consulting your vehicle’s service manual for the exact position, as it varies by make and model. Typically, the filter is found along the fuel line, either near the fuel tank, under the vehicle’s chassis, or within the engine compartment.
When locating the filter, you’ll want to identify the metal or plastic housing connected to the fuel lines. Before proceeding, be aware that relieving fuel system pressure is essential to avoid fuel spray or injury. This involves carefully releasing pressure at the fuel rail or using a specific valve, depending on your vehicle.
Properly locating the filter and managing fuel system pressure ensures a safe and effective replacement process.
Tools Needed to Replace a Fuel Filter
After locating the fuel filter and safely relieving the fuel system pressure, you’ll need to gather the proper tools to complete the replacement. First, prepare a set of wrenches or fuel line disconnect tools compatible with your vehicle’s fuel injection system.
Locate the fuel filter and safely relieve system pressure before gathering the correct wrenches or disconnect tools.
A container to catch residual fuel is essential, especially if you’re working near a loading dock or enclosed space to prevent spills. Have safety gloves and eye protection ready to shield against fuel spray.
A new fuel filter specific to your vehicle model is crucial for optimal performance. Additionally, use rags to clean connections and a flathead screwdriver for any clamps.
Ensuring you have these precise tools on hand will streamline the replacement process and maintain the integrity of your fuel injection system.
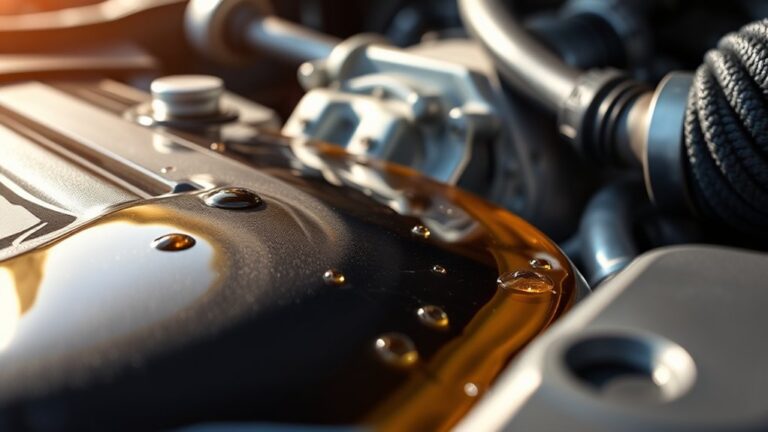
Take Out the Old Fuel Filter
How do you safely remove the old fuel filter without causing fuel leaks or damage? First, relieve fuel system pressure by loosening the fuel cap and disconnecting the battery.
Avoid any irrelevant topic or unrelated discussion that distracts from this critical step. Locate the fuel filter, usually near the fuel tank or engine, and place a catch pan underneath.
Use appropriate wrenches to carefully loosen the fittings without twisting the fuel lines. Be cautious of residual fuel; wear safety glasses and gloves.
Disconnect the filter by gently pulling it off the fittings or unscrewing it, depending on your vehicle’s design. Immediately cap the fuel lines to prevent contamination or leaks.
Avoid irrelevant topic or unrelated discussion to maintain focus on this precise, technical process.
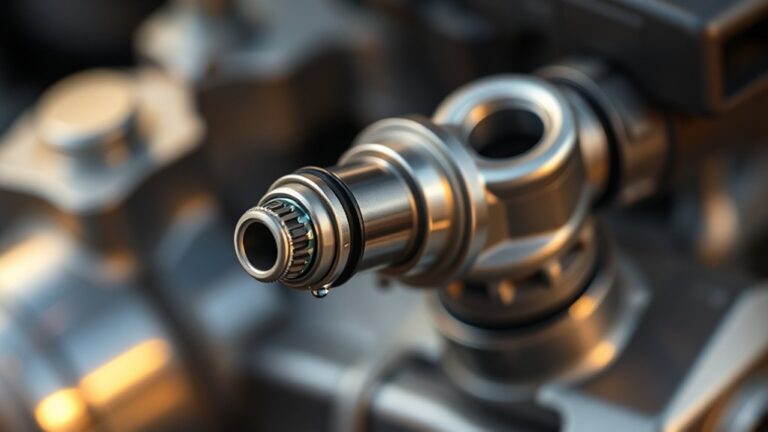
Put in the New Fuel Filter the Right Way
A correctly installed fuel filter guarantees optimal fuel flow and engine performance. Begin by confirming the replacement filter matches your vehicle’s specifications; improper fitment often leads to insufficient basics causing engine issues.
Position the new filter in the correct orientation. Note the arrow indicating fuel flow direction and secure it firmly using the original clamps or connectors. Avoid overtightening to prevent damage.
Double-check all fittings for leaks or loose connections. If you encounter fuel delivery problems after installation, revisit your work to rule out installation errors before exploring troubleshooting ideas.
Ensure the filter housing is clean to prevent contaminants. Proper installation eliminates common pitfalls and ensures consistent fuel pressure, enhancing engine reliability and efficiency.
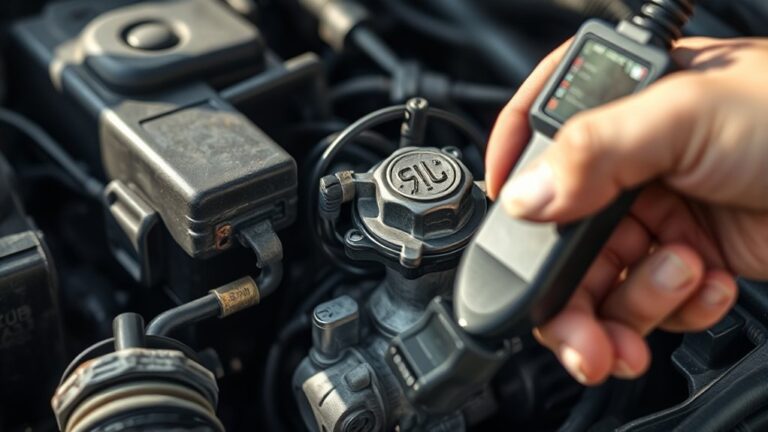
Test Your Car After Fuel Filter Replacement
Once the new fuel filter is securely installed and all connections are verified, you’ll want to start your engine to assess its performance. Begin with a thorough leak inspection around the filter and fuel lines to detect any signs of fuel seepage.
After installing the new fuel filter, start the engine and carefully inspect for any fuel leaks.
Pay close attention to fuel pressure using a pressure gauge to confirm it matches manufacturer specifications; improper pressure can cause engine performance issues. Operate the vehicle under varying conditions to verify consistent fuel delivery.
Remember to handle all fuel components carefully due to flammable risks, avoiding sparks or open flames during testing. Finally, dispose of the old fuel filter and any contaminated materials following local regulations for hazardous waste to ensure proper disposal and environmental safety.
This completes your post-replacement testing.
Frequently Asked Questions
How Often Should I Replace My Fuel Filter?
You should replace your fuel filter every 20,000 to 40,000 miles, depending on your vehicle’s specifications and driving conditions.
Check your owner’s manual to determine how often replacement is necessary for optimum performance.
Can a Clogged Fuel Filter Cause Engine Stalling?
Yes, a clogged filter can make your engine stall like it’s gasping for air. You’ll notice stall symptoms such as hesitation, rough idling, or sudden stops.
Regularly inspect to avoid these performance issues.
Is It Safe to Replace a Fuel Filter Yourself?
Yes, it’s safe to replace a fuel filter yourself if you follow safe handling practices and use proper disposal methods for old filters. Always work in a ventilated area, wear gloves, and avoid open flames during the process.
What Are Signs of a Failing Fuel Filter?
Noticed your engine sputtering or struggling to start? These two filter symptoms, reduced power and frequent stalling, signal a clogged fuel filter.
Conduct a fuel system diagnosis promptly to avoid damage and maintain optimal performance.
Does Fuel Filter Replacement Improve Gas Mileage?
Yes, replacing a clogged fuel filter improves gas mileage by ensuring optimal fuel flow. Focus on relevant topics like fuel system efficiency, and avoid unrelated topics such as tire pressure when diagnosing gas mileage issues.
Conclusion
Replacing your fuel filter ensures your engine runs smoothly and efficiently. Remember, “a stitch in time saves nine”—addressing this maintenance task early prevents costly repairs later.
After locating the filter and gathering the right tools, carefully remove the old one and install the new filter in the correct direction.
Finally, test your car thoroughly to confirm proper fuel flow. Staying proactive with fuel filter replacement protects your vehicle’s performance and longevity, making regular fuel filter replacement essential for your car’s health.